
DNS Leak Test: How to Check and Fix VPN DNS Leaks
DNS Leak Test: How to Check and Fix VPN DNS Leaks
A VPN promises to hide your browsing activity from your internet service provider, but that promise breaks the moment your device sends a DNS query outside the encrypted tunnel. A DNS leak test is the fastest way to find out whether that is happening. In this guide, you will learn what a DNS leak is, how to run a reliable test, how to read the results, and how to fix leaks when they appear.
What Is a DNS Leak?
DNS Leak Test: How to Check and Fix VPN DNS Leaks - What Is a DNS Leak?.
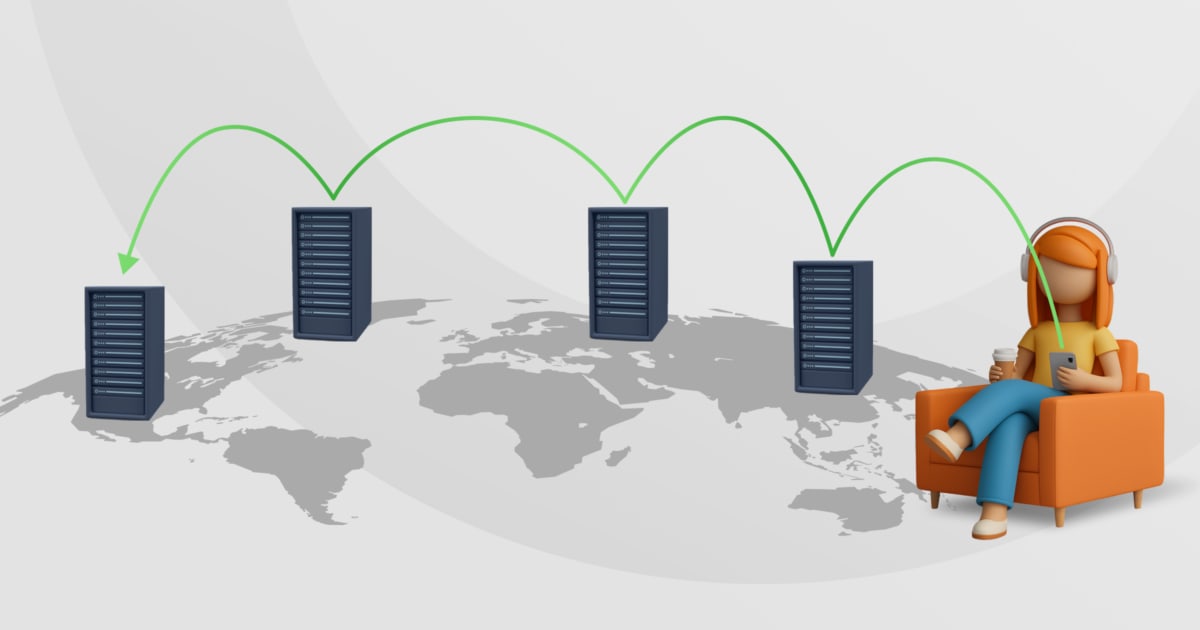
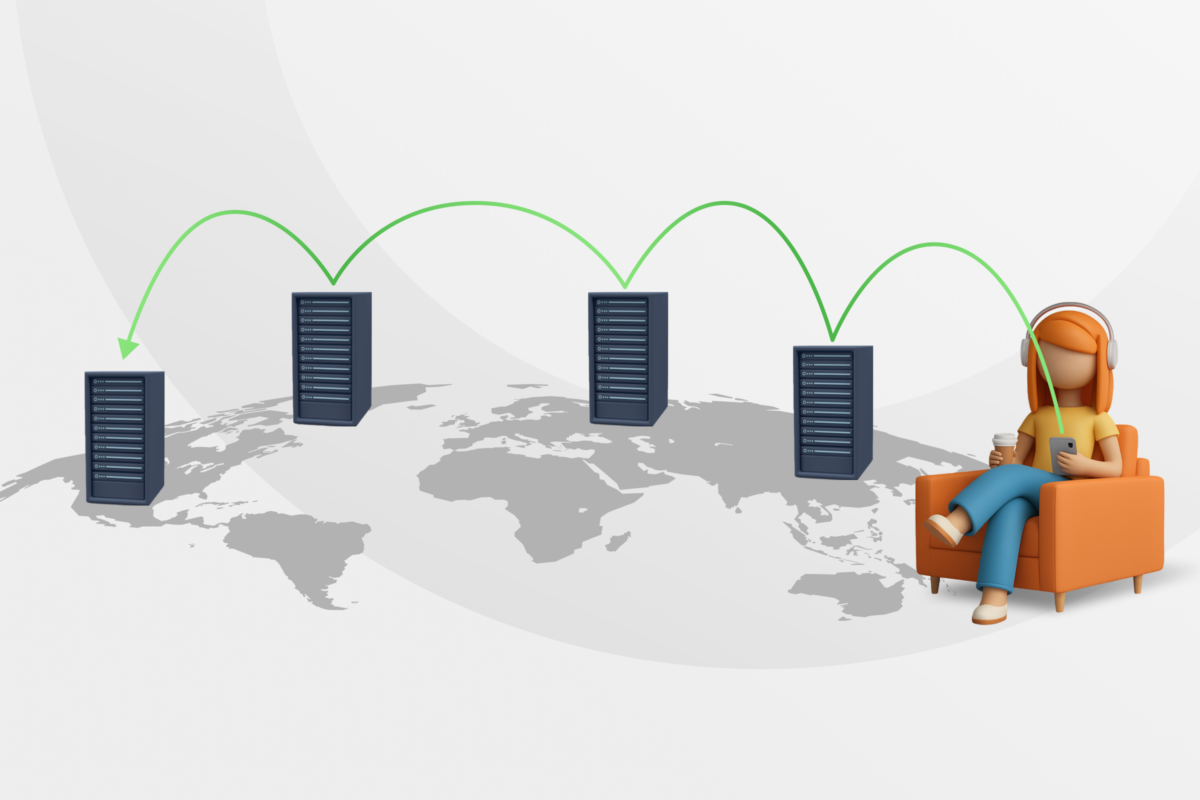
Every time you type a domain name such as example.com, your device asks a DNS server to translate that name into an IP address. Normally, when a VPN is active, that request should travel through the encrypted VPN tunnel to a DNS server operated by the VPN provider. A DNS leak occurs when the request bypasses the tunnel and goes directly to your ISP's DNS server instead.
That matters because DNS queries reveal the websites and services you use. Even if your web traffic is encrypted and routed through the VPN, leaked DNS queries can expose your browsing history to your ISP, network administrators, or anyone monitoring your connection. In some cases, DNS leaks also make it possible for third parties to correlate your activity with your real identity.
Common Causes of DNS Leaks
DNS leaks usually come from configuration issues rather than a failure of the VPN itself. The most frequent causes include:
- Operating system behavior: Windows, in particular, does not have a single global DNS setting. Each network adapter can use its own DNS server, and the system may send queries through the wrong interface.
- Misconfigured VPN clients: Some VPN apps do not force all DNS traffic through the tunnel by default, or they fail to override manually configured DNS servers.
- IPv6 gaps: If your VPN only handles IPv4 traffic, IPv6 DNS queries can escape through your regular connection.
- Router or manual DNS settings: A router configured with ISP DNS servers, or a device with static DNS entries, can override the VPN's intended settings.
- Transparent DNS proxies: Some ISPs intercept DNS traffic and redirect it to their own servers, making leaks harder to detect and prevent.
How a DNS Leak Test Works

DNS Leak Test: How to Check and Fix VPN DNS Leaks - How a DNS Leak Test Works.
A DNS leak test works by asking your browser to resolve a set of unique, randomly generated domain names. Each domain is tied to a specific test server, so the service can see which DNS resolver actually made the request. If the resolver belongs to your VPN provider, the test passes. If it belongs to your ISP or another unexpected party, you have a leak.
For example, BrowserLeaks DNS Leak Test resolves 50 randomly generated domains, half IPv4-only and half IPv6-only, to catch leaks on both protocols. IPLeak.net takes a broader approach by showing your IP address, DNS servers, WebRTC exposure, and torrent detection results on one page. DNSLeakTest.com offers a simple standard test plus an extended test that provides more detail about the detected servers.
A good test should show you at least three things:
- Your public IP address and its apparent location.
- The DNS servers that resolved the test domains.
- Whether those servers belong to your VPN provider or to your ISP.
How to Run a DNS Leak Test Correctly

DNS Leak Test: How to Check and Fix VPN DNS Leaks - How to Run a DNS Leak Test Correctly.
Running a DNS leak test is simple, but doing it correctly requires a little preparation. Follow these steps for a meaningful result:
- Connect to your VPN first. Choose a server location and confirm the connection is active.
- Note your expected IP and DNS servers. Most VPN apps show the IP address you have been assigned. Some also list their DNS server addresses in the app or on their support site.
- Open a DNS leak test tool. Use a reputable web-based test such as BrowserLeaks, IPLeak.net, or DNSLeakTest.com.
- Run the standard test first. Check whether the displayed IP address matches your VPN's assigned IP and whether the DNS servers belong to your VPN provider.
- Run an extended test if available. Extended tests query more domains and can reveal leaks that a basic test misses.
- Repeat on different server locations. Test at least two or three VPN servers, especially if you use servers in different countries.
- Test after changing network conditions. Run the test again after switching Wi-Fi networks, resuming from sleep, or reconnecting the VPN.
For a more complete privacy check, combine the DNS leak test with a WebRTC leak test. WebRTC can expose your real IP address even when the VPN is working correctly, and many DNS leak tools include a WebRTC check on the same page.
How to Read DNS Leak Test Results
DNS Leak Test: How to Check and Fix VPN DNS Leaks - How to Read DNS Leak Test Results.
Interpreting the results is straightforward once you know what to look for.
What a Passing Result Looks Like
A clean result shows your VPN-assigned IP address and DNS servers that belong to your VPN provider. The DNS server hostnames or IP addresses should match the provider's published servers. The location shown should correspond to the VPN server you selected, not your physical location.
What a Leaking Result Looks Like
A leak is present when any of the following appear in the results:
- Your real ISP name or ISP-owned DNS servers.
- DNS servers located in your home country when you are connected to a foreign VPN server.
- A public DNS resolver you did not configure, such as Google Public DNS or Cloudflare, appearing alongside your VPN's servers.
- Different DNS servers resolving different test domains, indicating split DNS behavior.
Common Result Patterns
| Pattern | Meaning |
|---|---|
| Only VPN DNS servers | No leak detected |
| VPN DNS + ISP DNS | Partial leak; some queries bypass the tunnel |
| Only ISP DNS servers | Full leak; VPN is not handling DNS at all |
| VPN DNS + unexpected public DNS | Possible manual DNS override or router interference |
| IPv6 DNS from ISP while IPv4 is clean | IPv6 leak; VPN lacks IPv6 DNS protection |
How to Fix a DNS Leak
If your test reveals a leak, work through these fixes in order. Most leaks are resolved by one of the first three steps.
1. Enable DNS Leak Protection in Your VPN App
Many commercial VPN clients include a built-in DNS leak protection toggle. Open the app's settings, find the network or privacy section, and enable it. If the option is already on, try toggling it off and on again, then reconnect and retest.
2. Switch VPN Protocols
Some protocols handle DNS routing more reliably than others. If you are using an older protocol such as PPTP or L2TP, switch to OpenVPN or WireGuard, both of which generally enforce DNS routing through the tunnel more consistently.
3. Change Your DNS Servers
Configure your network adapter to use DNS servers that do not belong to your ISP. Popular options include Cloudflare (1.1.1.1 and 1.0.0.1) and Quad9 (9.9.9.9). On Windows, change the DNS settings on both your primary network adapter and the VPN's virtual adapter. On macOS, update the DNS settings for your active network service.
4. Disable IPv6 or Enable IPv6 Leak Protection
If your VPN does not support IPv6, disable IPv6 on your network adapter or router to prevent IPv6 DNS queries from escaping. Some VPN apps include an IPv6 leak protection option that blocks IPv6 traffic while the VPN is connected.
5. Flush Your DNS Cache
After changing settings, flush the DNS cache so stale entries do not interfere. On Windows, run ipconfig /flushdns in Command Prompt. On macOS, run sudo dscacheutil -flushcache; sudo killall -HUP mDNSResponder in Terminal.
6. Use a VPN with Built-In DNS Servers
If leaks persist, your VPN provider may not be forcing DNS through its own servers. Consider a provider that operates private DNS servers and documents its DNS leak protection. Testing a different provider is sometimes the fastest way to confirm whether the issue is with your configuration or the VPN itself.
DNS Leak Test vs. Other Privacy Checks
A DNS leak test answers one specific question: where do your DNS queries go? It does not cover every privacy risk. For a complete picture, pair it with these complementary checks:
- WebRTC leak test: Detects whether your browser exposes your real IP address through WebRTC, even when the VPN is active.
- IP address lookup: Confirms the public IP address, geolocation, ISP, and proxy status that websites see. BrowserScan includes an IP address lookup tool that shows geolocation, ISP details, and proxy detection in one place.
- Browser fingerprint check: Reveals how uniquely identifiable your browser is, independent of your IP address. BrowserScan's browser fingerprint analysis verifies whether your fingerprint looks authentic or suspicious.
- Port scan: Identifies open ports on your network that could expose services to the internet. BrowserScan offers an Nmap-powered port scanner for this purpose.
Running these checks together gives you a clearer view of your overall privacy posture than a DNS leak test alone.
How BrowserScan Helps with DNS and IP Leak Testing
BrowserScan is a free, browser-based privacy and security testing platform that brings several of these checks into one workflow. Its toolset includes a DNS leak test, WebRTC leak test, IP address lookup with geolocation and proxy detection, browser fingerprint analysis, and an Nmap-powered port scanner.
The practical advantage is speed. Instead of opening separate tools for DNS, WebRTC, IP, and fingerprint checks, you can run them from a single dashboard and compare the results side by side. For VPN users, that means verifying in one session that your DNS queries stay inside the tunnel, your real IP is not exposed through WebRTC, and your browser fingerprint does not reveal identifying details.
To learn more about how the platform works and what each tool measures, see What Is BrowserScan? Fingerprint, IP Leak & Privacy Testing.
Related reading
- What Is Nmap? The Free Network Mapper & Security Scanner - Nmap is a free, open-source network mapper and security scanner for host discovery, port scanning, OS detection, and vulnerability auditing. Learn how it works.
- BigDataCloud Pricing Explained: Plans, Free Tiers & Costs - Compare BigDataCloud pricing across IP geolocation and reverse geocoding plans, free tiers, overage rates, and find the best value for your API volume.
- PrivacyTools.io Setup: A Practical Privacy Stack Guide - Learn how to set up PrivacyTools.io recommendations, verify your VPN and browser privacy, and build a practical privacy stack without breaking your workflow.
Frequently Asked Questions
What is a DNS leak test?
A DNS leak test is a diagnostic tool that checks which DNS servers your device uses to resolve domain names. It helps determine whether your DNS queries are going through your VPN tunnel or leaking to your ISP.
How do I know if my DNS is leaking?
Run a DNS leak test while connected to your VPN. If the results show DNS servers belonging to your ISP, or servers located in your home country while connected to a foreign VPN server, your DNS is leaking.
Can a DNS leak expose my browsing history?
Yes. DNS queries contain the domain names you visit. If those queries go to your ISP instead of through your VPN, your ISP can see which websites and services you access, even if the content of your traffic remains encrypted.
Is a DNS leak dangerous if I am not using a VPN?
Without a VPN, your DNS queries already go to your ISP, so there is no additional leak. The risk arises when you expect a VPN to hide your activity but DNS queries bypass the tunnel and reveal it anyway.
How often should I run a DNS leak test?
Run a test after installing or updating your VPN, after changing VPN servers or protocols, after switching networks, and periodically as part of a routine privacy check. Testing after major operating system updates is also wise.
Do free VPNs cause more DNS leaks?
Free VPNs are not inherently more leak-prone, but they often lack advanced leak protection features and may route DNS through third-party servers. Testing is especially important when using a free or lesser-known provider.
What is the difference between a DNS leak and a WebRTC leak?
A DNS leak exposes the DNS servers your device uses, while a WebRTC leak exposes your real IP address through browser WebRTC functionality. Both can reveal your identity or location even when a VPN is active, but they require different fixes.
Conclusion
A DNS leak test is one of the simplest and most important checks you can run to verify that your VPN is actually protecting your privacy. The test takes seconds, but the insight it provides can prevent your ISP from seeing every site you visit. Run the test regularly, learn to read the results, and apply the fixes above when leaks appear. For a broader view of your online exposure, combine DNS testing with WebRTC, IP, and browser fingerprint checks using a platform like BrowserScan.