
How to Use BrowserScan with Nmap for Network & Privacy Audits
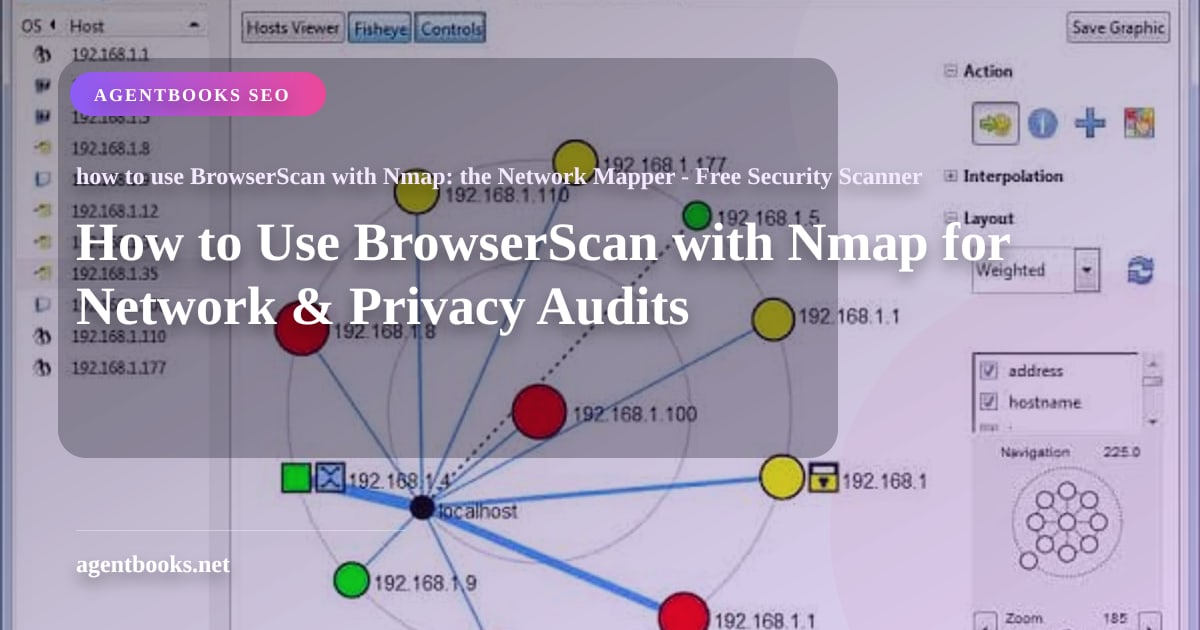
How to Use BrowserScan with Nmap for Network & Privacy Audits
BrowserScan’s online privacy toolkit and Nmap’s legendary network scanner each bring powerful capabilities to the table. When combined, they give you a 360‑degree view of your security posture—from what your browser leaks to the services quietly listening on your network. This guide shows you how to blend BrowserScan’s browser‑based leak tests, fingerprint checks, and web port scanner with Nmap’s command‑line reconnaissance to verify VPNs, expose misconfigurations, and perform comprehensive security audits.
Understanding the Tools: BrowserScan and Nmap
How to Use BrowserScan with Nmap for Network & Privacy Audits product interface and feature overview.
Before diving into the workflow, let’s define what each tool does and where it excels.
What Is BrowserScan?
BrowserScan is a no‑plugin web suite that checks for privacy vulnerabilities tied directly to your browser and network. It detects browser fingerprinting, DNS leaks, WebRTC leaks, and IP address exposure. The platform also includes an IP lookup aggregator (pulling from ip‑api, IPinfo, IP2Location, and more), an online speed test, a user‑agent parser, and—most relevant here—a port scanner powered by Nmap. Because everything runs in the browser, you can instantly assess your public‑facing security without installing anything.
What Is Nmap?
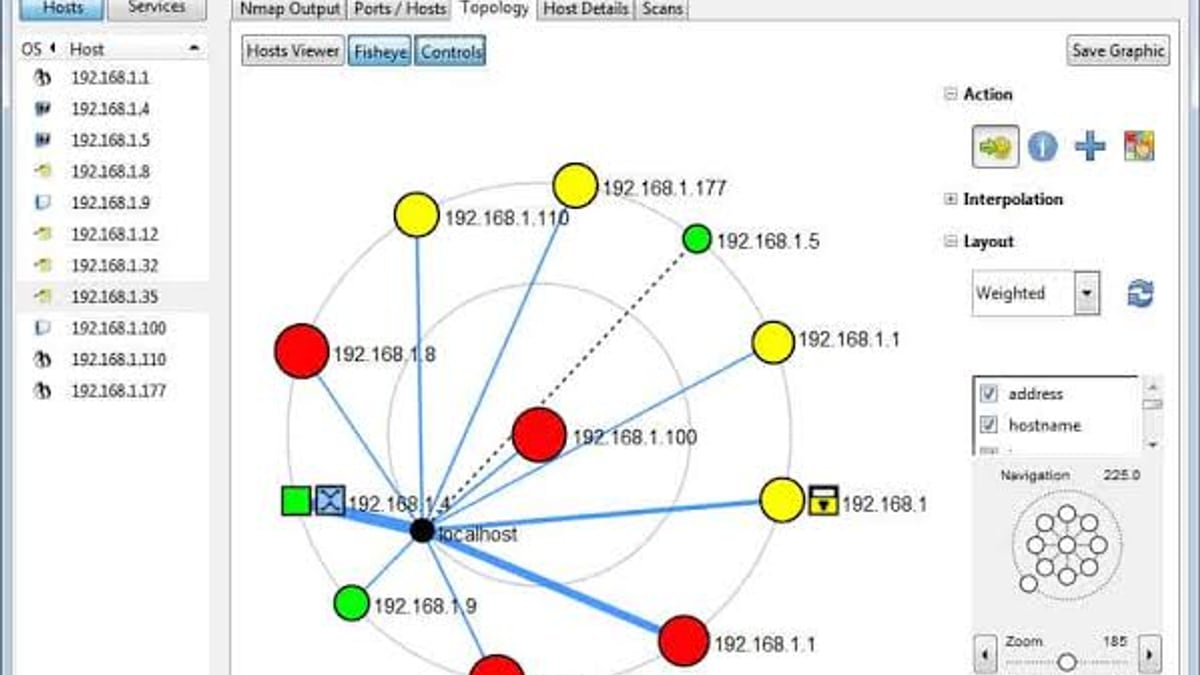
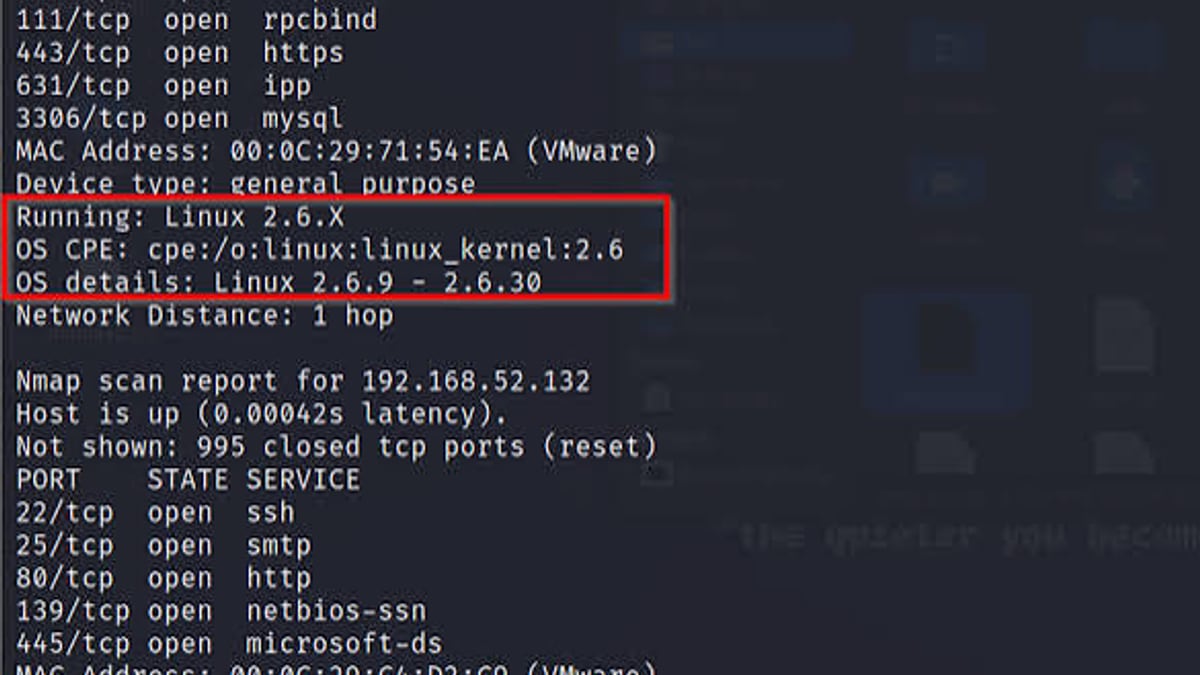
Nmap (“Network Mapper”) is the free, open‑source utility for network discovery and security auditing. It sends raw IP packets to map live hosts, identify open ports, fingerprint operating systems, detect service versions, and even run custom scripts via the Nmap Scripting Engine (NSE). Available for Linux, Windows, and macOS, it’s the go‑to scanner for both network engineers and penetration testers. The official Nmap site offers the latest download and documentation. For hands‑on command examples, W3Schools’ Nmap tutorial provides a solid foundation.
Why Combine BrowserScan and Nmap?
How to Use BrowserScan with Nmap for Network & Privacy Audits - supporting product research image 2.
These tools naturally complement each other. BrowserScan operates from your browser’s environment, showing what the outside world can see—your public IP, which ports are visible from the internet (via its web‑based port scanner), and whether your browser is leaking your local identity through DNS or WebRTC. Nmap, on the other hand, scans from your machine’s network stack, giving you raw, unfiltered data about every device on your local network or a remote target.
Together, they answer questions like:
- “Is my VPN really hiding my IP, or is a WebRTC leak exposing my real address?” (BrowserScan tests + Nmap cross‑check of the VPN gateway’s exposed services)
- “The web port scanner says port 22 is open—does my server really run SSH?” (Nmap confirms service version and OS)
- “Am I vulnerable to browser fingerprinting, and could someone correlate that with open network services?” (BrowserScan fingerprint score + Nmap network context)
In short, BrowserScan gives you an easy, external view of your privacy boundaries, while Nmap provides the deep, technical view of your network’s attack surface.
Practical Workflow: Using BrowserScan and Nmap Together
How to Use BrowserScan with Nmap for Network & Privacy Audits - supporting product research image 3.
Here are three real‑world scenarios where pairing the two tools yields actionable insights.
Scenario 1: Verifying VPN and Firewall Effectiveness
- BrowserScan leak checks – Before launching Nmap, visit BrowserScan and run the DNS leak test, WebRTC leak test, and IP lookup. Confirm that the IP shown matches your VPN provider’s exit node and that no local IP or DNS server is exposed.
- BrowserScan port scanner – Use the web port scanner to check if common ports (21, 22, 80, 443, etc.) are open on your VPN’s public IP address. If unexpected ports are open, your VPN client or router might be forwarding traffic.
- Nmap internal scan – On your local machine, run
nmap -sn 192.168.1.0/24to list all devices. Then scan your own device more deeply withnmap -sV localhost. Compare the open ports with those reported by BrowserScan’s external check. Any mismatches could indicate a firewall misconfiguration. - Cross‑reference – For example, if you use a VPN like NordVPN (read our full review), BrowserScan should show only the VPN’s IP and no local DNS servers. If Nmap then reveals that your device still has port 53 open to the local network, you’ve found a potential DNS leak vector that BrowserScan’s browser test might not fully capture.
Scenario 2: Full Security Audit of a Remote Server
- BrowserScan IP lookup – Enter the target domain or IP into BrowserScan’s IP lookup to see its geolocation, ISP, and blacklist status (powered by multiple data sources; learn how to combine BrowserScan with dedicated IP intelligence APIs).
- BrowserScan web port scanner – Run a quick scan of the top ports from the browser. This gives you a low‑profile, external view of what’s accessible.
- Nmap deep scan – From your terminal, execute a detailed scan:
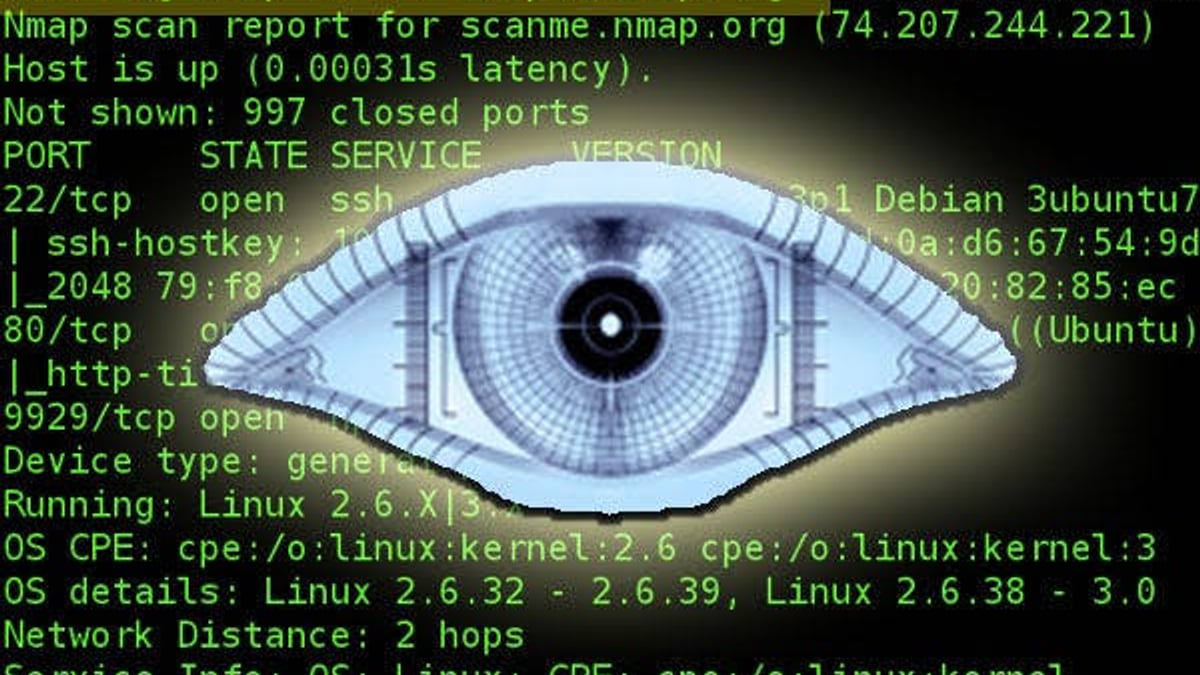
nmap -sS -sV -O -p- --reason target.example.com
This performs a SYN scan, detects service versions, attempts OS fingerprinting, and scans all 65535 ports while explaining why each port state was reported. - Compare results – The web scanner might show port 443 open; Nmap confirms it’s running nginx 1.18 on Ubuntu. The discrepancy? Nmap can reveal outdated software versions that BrowserScan’s simple open/closed status cannot. Together, you get quick visibility plus forensic depth.
Scenario 3: Penetration Testing Preparation
- Browser fingerprint analysis – Use BrowserScan’s fingerprinting test to see how your browser appears to trackers. Note the authenticity score, canvas hash, and user‑agent string.
- User‑agent parsing – Run the user‑agent parser to understand exactly what your browser claims to be. Then craft Nmap scans to mimic legitimate traffic from that user‑agent by using Nmap’s
--script http-useragent-testeror by setting custom HTTP headers in NSE scripts. - Bot detection check – BrowserScan’s bot detection tests can inform how stealthy your traffic is. Combine that with Nmap’s timing options (
-T0paranoid to-T4aggressive) to avoid triggering intrusion detection systems. - Fingerprinting surface – If BrowserScan shows a unique fingerprint, an attacker could potentially correlate it with the services Nmap discovers on your network. Use this insight to harden both browser privacy and service banners.
Step‑by‑Step Setup and Execution
How to Use BrowserScan with Nmap for Network & Privacy Audits - supporting product research image 4.
Here’s the exact sequence to combine both tools from scratch.
Step 1: Access BrowserScan’s Online Tools
Go to BrowserScan (no account needed). You’ll see tiles for the port scanner, DNS leak test, WebRTC leak test, IP lookup, and more.
Step 2: Run Key BrowserScan Tests
- Port Scanner: Enter your public IP or a target host. Select the desired port range (common ports are enough for a first pass) and start the scan. Note any unexpected open ports.
- DNS Leak Test & WebRTC Leak Test: Run both. If any DNS server doesn’t belong to your VPN or ISP, or if a local IP address appears in the WebRTC results, you have a leak.
- IP Lookup: Check your public IP’s geolocation and blacklist status. If you’re using a proxy, ensure the IP matches the expected location.
Step 3: Install and Launch Nmap
Download Nmap from nmap.org for your OS. Install it, then open a terminal. Basic scans to get started:
# Discover live hosts on your subnet
nmap -sn 192.168.1.0/24

# Scan your own machine for open ports and services
nmap -sV localhost

# Scan a remote target with OS detection
nmap -A target.example.com
If you prefer a GUI, Zenmap is the official graphical front‑end.
Step 4: Correlate Results
- Example correlation: BrowserScan’s WebRTC test shows your local address 192.168.1.10. Nmap scan of that address reveals an open SSH port (22) and an FTP server (21). You now know that even a WebRTC leak could give an attacker a direct route to internal services.
- Port validation: BrowserScan’s web port scanner says port 8080 is open on your public IP. Nmap on your router’s external interface confirms it, and
-sVreveals an admin panel for your IoT device. You can then decide to close that port.
Real‑World Example: Debugging a Misconfigured VPN
Imagine you’re connected to a VPN, but browsing feels slow and you sense a privacy leak.
- BrowserScan IP lookup shows your IP is in the correct VPN server location, but the DNS leak test lists an unexpected DNS server from your local ISP.
- BrowserScan port scanner on your VPN’s exit IP finds port 53 open—unusual for a VPN endpoint that should only forward encrypted traffic.
- Nmap scan of your local machine (
nmap -sU -p 53 localhost) reveals that your local DNS resolver is still active and bound to all interfaces. This explains the leak: your system is using the ISP’s DNS despite the VPN. - Fix the DNS binding, restart the VPN, and re‑run the BrowserScan tests. No more leaks. The combination gave you both the symptom (BrowserScan) and the root cause (Nmap).
Limitations and Best Practices
- BrowserScan’s port scanner is web‑based: It can only test ports visible from the internet. It won’t see services on your private LAN. That’s where Nmap comes in.
- Nmap requires permission: Always scan only networks and systems you own or have explicit authorization to test. Unauthorized scanning can be illegal.
- Firewalls may interfere: Both tools can be blocked by aggressive firewalls. BrowserScan relies on outbound HTTP connections; if a corporate proxy blocks it, use Nmap locally.
- Keep both updated: BrowserScan evolves its detection algorithms; regularly re‑run tests. Update Nmap to get the latest NSE scripts and OS signatures.
Related reading
- BigDataCloud Review: Precise IP Geolocation APIs Tested - In-depth BigDataCloud review covering accuracy, pricing, GraphQL, free APIs, and how it stacks up for fraud detection, content localization, and network monitoring.
- IP-Lookup.net Review: Free IP Lookup, WHOIS & Risk Detection - Our IP-Lookup.net review covers the free IP intelligence tool's geolocation, ISP, WHOIS, VPN detection, API, and accuracy. See how it compares to alternative IP lookup tools.
- Top 10 IP Geolocation & Location Intelligence APIs (2026) - Compare the leading IP geolocation APIs for accuracy, features, and pricing. Our 2026 roundup covers BigDataCloud, IPinfo, IPLocate, and more.
Frequently Asked Questions
Does BrowserScan replace Nmap?
No. BrowserScan simplifies common privacy checks through a web interface, but it can’t match Nmap’s raw network‑level exploration, scriptable engine, or ability to scan entire subnets in detail. They serve different layers of the security stack.
Can I use BrowserScan’s port scanner without Nmap?
Yes. If you only need a quick external check of a few well‑known ports, the web scanner is enough. However, for accurate service version detection, OS fingerprinting, or scanning of all 65,535 ports, Nmap remains the superior tool.
How do I interpret conflicting results between the two scanners?
Differences are common. For example, BrowserScan might report port 21 closed, while Nmap shows it open. This can happen because BrowserScan scans from a remote data center, while Nmap scans locally. Investigate network address translation (NAT) rules or ISP‑level filtering.
Is there a learning curve for Nmap?
A basic scan (nmap target) is trivial, but mastering Nmap’s scripting engine and advanced options takes practice. Use W3Schools’ guide or the Infosec Nmap tutorial to get comfortable.
Can BrowserScan help with Nmap scripting?
Indirectly. Use BrowserScan’s user‑agent parser and fingerprint data to craft NSE scripts that mimic real browsers, helping you evade detection during a penetration test.
Strengthen Your Security Arsenal
BrowserScan and Nmap are a formidable pair for anyone serious about digital privacy and network hardening. By cross‑referencing BrowserScan’s browser‑side leaks with Nmap’s deep network scans, you can uncover hidden vulnerabilities—from a misbehaving VPN to an open debug port on a production server. At BrowserScan, we regularly test security tools like these to help you pick the right ones for your workflow. For a side‑by‑side comparison of browser fingerprinting solutions, see BrowserScan vs Pixelscan.dev & IPhey. And if you’re evaluating VPNs that hold up under this kind of scrutiny, our NordVPN review covers real‑world leak performance.
Start your audit today: open BrowserScan in one tab and a terminal with Nmap in another. The complete picture will surprise you—and make your systems safer.