
Mozilla VPN Tutorial: Setup, Servers & Leak Checks

Mozilla VPN Tutorial: Setup, Servers & Leak Checks
Mozilla VPN is a subscription VPN from the makers of Firefox. It works as a standalone app on Windows, macOS, Linux, Android, and iOS, and it uses the WireGuard protocol to encrypt your traffic. This tutorial walks through installation, server selection, multi-hop, and — the part most tutorials skip — how to confirm the VPN is actually hiding your IP address and DNS requests.
What Mozilla VPN Is (and What It Is Not)
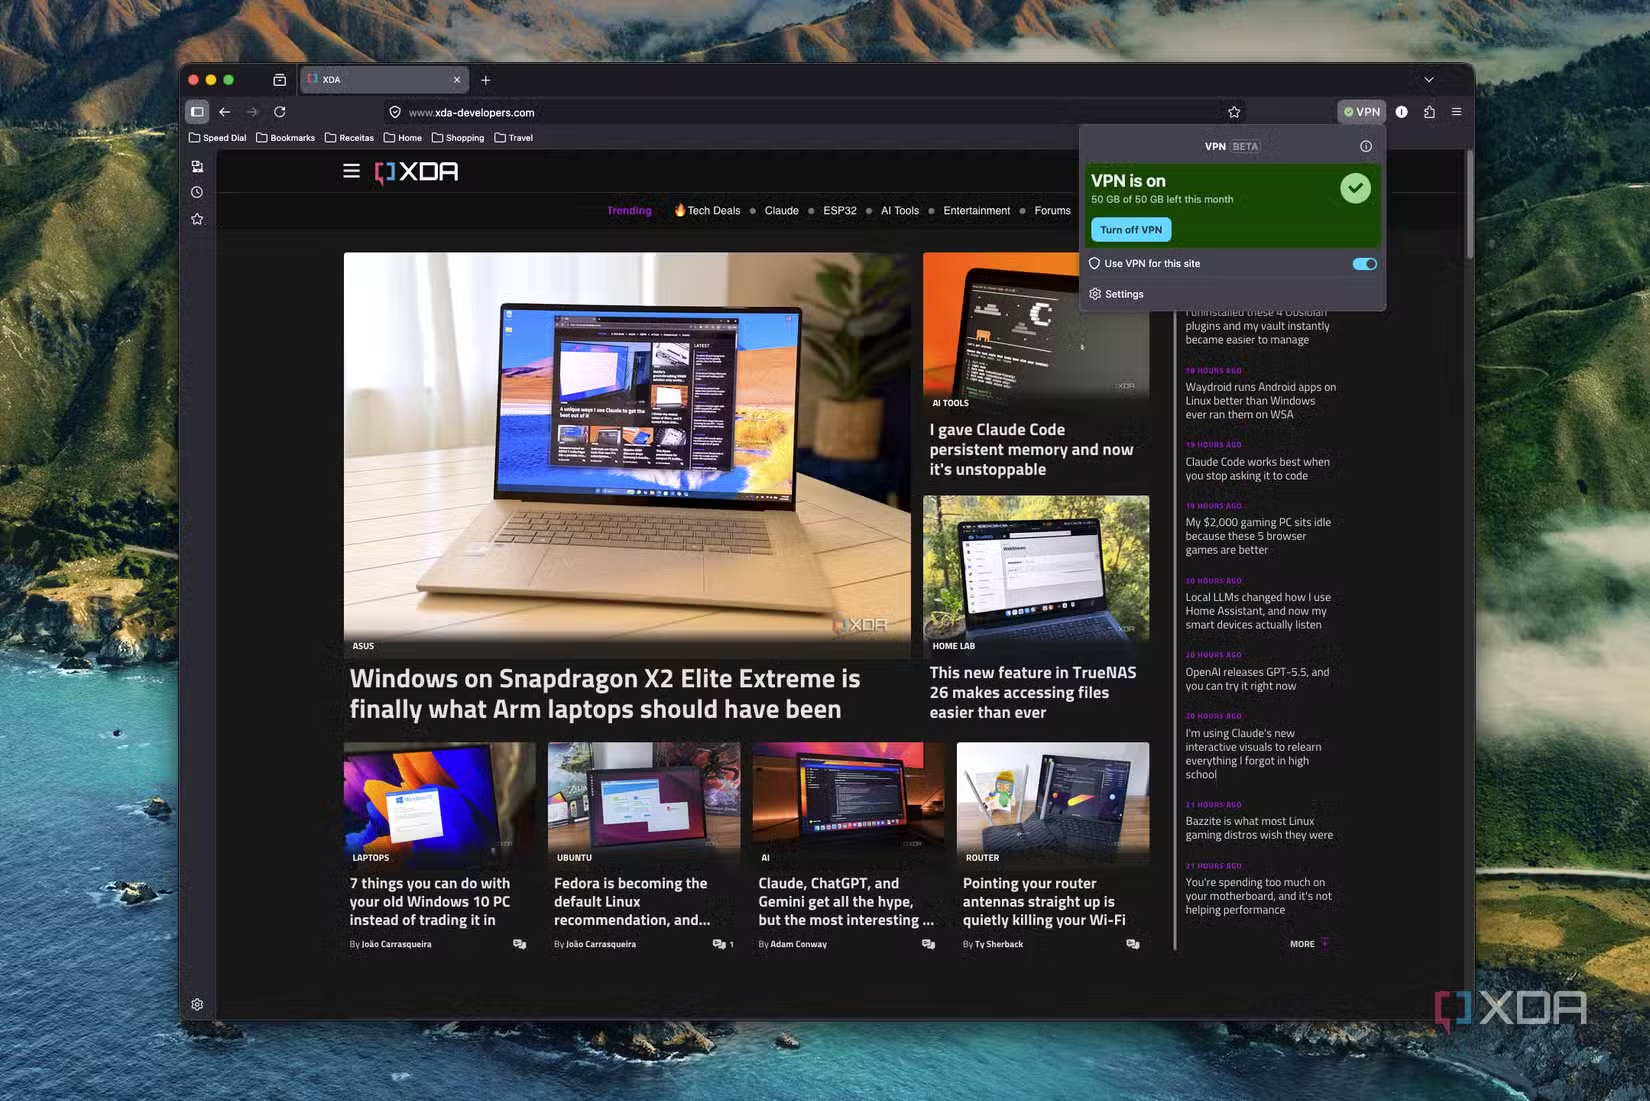
Mozilla VPN Tutorial: Setup, Servers & Leak Checks - What Mozilla VPN Is (and What It Is Not).
Mozilla VPN is a paid service, not a free browser add-on. If you were looking for a free VPN inside Firefox, that is a different feature and a different setup path. Mozilla VPN is a system-wide tunnel: once connected, traffic from your apps routes through Mozilla's server network rather than your local ISP.
Key facts to keep straight before you start:
- It is available on Windows, macOS, Linux, Android, and iOS.
- It requires a Mozilla account and an active subscription.
- It uses WireGuard, a modern, lightweight VPN protocol.
- It offers server locations in a limited set of countries compared with large commercial VPNs.
- It includes a multi-hop option that routes traffic through two servers instead of one.
If your goal is simply to change your visible location for a browser session, a system VPN is more thorough than a browser extension because it covers every app, not just Firefox.
Before You Install: Check Your Baseline
Mozilla VPN Tutorial: Setup, Servers & Leak Checks - Before You Install: Check Your Baseline.
You cannot tell whether a VPN is working unless you know what your connection looks like without it. Spend two minutes capturing a baseline first.
- Run an IP address lookup and note your real IP, ISP, and approximate location.
- Run a DNS leak test and a WebRTC leak test to see what your browser exposes by default.
- Check your browser fingerprint so you know which signals are already unique to your setup.
Save those results. After you connect to Mozilla VPN, you will repeat the same tests and compare. For a broader walkthrough of what leaks look like and how to close them, see secure browsing in 2026.
Step-by-Step: Installing Mozilla VPN
Mozilla VPN Tutorial: Setup, Servers & Leak Checks - Step-by-Step: Installing Mozilla VPN.
Step 1: Create or sign in to a Mozilla account
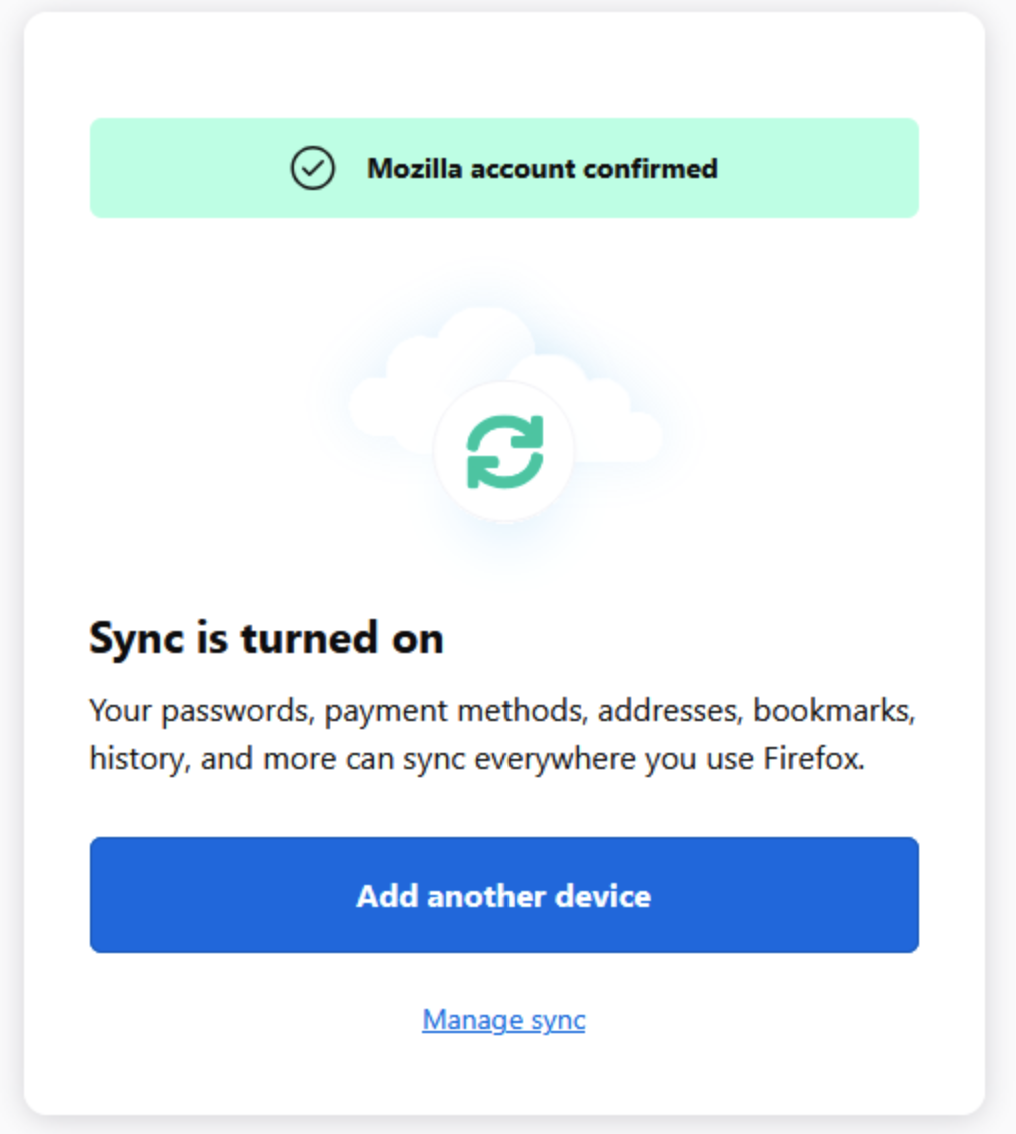
Mozilla VPN is tied to a Mozilla account. Sign in with the same account you use for Firefox if you already have one, or create a new one. Your subscription is attached to this account, so use the same login on every device you want to protect.
Step 2: Download the app for your platform
Get the installer from Mozilla's official site rather than a third-party download page. Choose the build that matches your operating system:
- Windows — standard installer, runs as a desktop app.
- macOS — signed app bundle; you may need to approve it in System Settings.
- Linux — distributed as a package for common distributions.
- Android — install from Google Play.
- iOS — install from the App Store.
Step 3: Sign in inside the app
After installation, open the app and sign in with the Mozilla account that holds your subscription. If the app shows no active subscription, you are either signed in with the wrong account or the subscription has lapsed.
Step 4: Grant network permissions
On desktop, the app needs permission to create a VPN tunnel. On Windows this may appear as a network adapter prompt; on macOS you will be asked to allow a system extension. Approve these prompts — without them, the tunnel cannot be established.
Step 5: Connect to a server
Open the server list, pick a location, and toggle the connection on. The app will show a connected state and, in most builds, your new visible IP address. Start with the server closest to you for the best speed, then move to a more distant location only if you need a specific region.
Choosing a Server Location

Mozilla VPN Tutorial: Setup, Servers & Leak Checks - Choosing a Server Location.
Server choice is a trade-off between speed and purpose:
| Goal | Best choice |
|---|---|
| Fastest browsing | Nearest server in your own region |
| Accessing a site limited to another country | A server in that country |
| Reducing latency for gaming or video calls | Nearest server, avoid multi-hop |
| Extra separation between your ISP and destination | Multi-hop |
Mozilla VPN's location list is smaller than what you will find on some commercial VPNs. If you need a country that is not offered, no amount of configuration will produce it — you would need a different provider.
Using Multi-Hop
Multi-hop routes your traffic through two servers in sequence. The first server sees your real IP but not your final destination; the second sees the destination but not your real IP. The cost is latency and often reduced throughput.
Turn multi-hop on when:
- You are on an untrusted network and want an extra layer.
- You want your entry point and exit point to be in different jurisdictions.
- You are doing sensitive work and can tolerate slower speeds.
Leave it off for streaming, large downloads, and anything latency-sensitive.
Verify the VPN Is Actually Working
This is the step that separates a real setup from a hopeful one. After connecting, re-run your tests and check three things.
1. IP address and geolocation
Your visible IP should now belong to Mozilla's server network, not your ISP, and the reported location should match the server country you selected. If your original IP still appears, the tunnel is not carrying your traffic — disconnect, reconnect, and check again.
2. DNS leaks
A DNS leak means your device is still asking your ISP's resolver to translate domain names, even though your traffic is tunneled. Run a DNS leak test and confirm the resolver shown belongs to the VPN, not your local network.
3. WebRTC leaks
WebRTC can expose your real IP to websites through browser APIs even when a VPN is active. A WebRTC leak test will show whether your browser is revealing an address that does not match your VPN IP. If it does, disable WebRTC in your browser or use an extension that blocks it.
4. Browser fingerprint
A VPN changes your IP, not your fingerprint. Screen resolution, fonts, canvas rendering, and user agent strings can still identify you across sessions. Run a fingerprint check after connecting to see how unique your browser looks, and compare it against your baseline. If you want to go further, tools like Chameleon Mode let you build isolated browser profiles with separate fingerprints and proxies.
Common Problems and Fixes
The app connects but sites still show my real location. Clear your browser cache and cookies, then retest. Some sites cache geolocation aggressively.
Pages load slowly. Switch to a nearer server, turn off multi-hop, and test again. WireGuard is fast, but distance still costs milliseconds.
The VPN disconnects on sleep or network change. Enable the kill switch or "always-on" option if your build offers it, so traffic does not leak during reconnection.
Streaming services block the connection. Many streaming platforms block known VPN ranges. Try a different server in the same country; if all are blocked, the service is actively filtering that provider.
The app will not install on Linux. Check that your distribution is supported and that you are installing from the official package source.
Is Mozilla VPN the Right Choice for You?
Choose Mozilla VPN if you want a simple, WireGuard-based tunnel from a well-known organization, you primarily use Firefox, and you value a clean app over an enormous server list.
Look elsewhere if you need servers in dozens of countries, want a free tier, need router-level configuration, or rely on features like split tunneling across many apps. In those cases, compare providers on server coverage and platform support before subscribing.
Whichever VPN you use, the verification workflow stays the same: connect, then test IP, DNS, WebRTC, and fingerprint. A VPN you have not tested is a VPN you are trusting blindly.
Related reading
- Chameleon Mode Tutorial: AKVIS, ArtWorkout & Meccha Chameleon - Learn Chameleon Mode across AKVIS, ArtWorkout, and Meccha Chameleon. Step-by-step tutorials, tips, and privacy checks for each tool.
- Pixelscan Download: What You Get and BrowserScan Alternative - Looking for a Pixelscan download? Learn what the tool offers, how the browser scan works, and how BrowserScan compares for privacy testing.
Sources and further reading
- Client Challenge - A required part of this site couldn’t load. This may be due to a browser extension, network issues, or browser settings. Please check your connection, disable any ad blockers, or try using a different browser.
- How to Use a Free VPN in Firefox (Beginner Walkthrough) - If you are based outside of the United States or if you want to access geo-restricted internet content, using a VPN will allow you to mask your computer's tr...
- How to Set Up a VPN for Firefox - 🌐I may receive a commission for purchases made through links below🌐1️⃣ Exclusive ExpressVPN Discount ➢ https://go.expressvpn.com/rQm4x3🔥 *Get 4 Extra Mon...
FAQ
Is Mozilla VPN free? No. It is a paid subscription tied to a Mozilla account. Mozilla offers a limited free trial period in some regions, but ongoing use requires payment.
Does Mozilla VPN work with Firefox? Yes. Because it is a system-wide VPN, it protects Firefox along with every other app on the device. You do not need a separate browser extension.
How many devices can I use? Mozilla VPN supports multiple simultaneous device connections under one subscription. The exact number is listed on Mozilla's official pricing page and can change, so check there before you buy.
Does Mozilla VPN hide my IP address? It replaces your visible IP with one from its server network. Verify this with an IP lookup after connecting — do not assume it worked.
Can Mozilla VPN prevent browser fingerprinting? No. A VPN operates at the network layer and does not alter your browser fingerprint. You need separate fingerprint management for that.
What protocol does Mozilla VPN use? It uses WireGuard, a modern protocol known for low overhead and strong performance.
Will a VPN slow down my connection? Some slowdown is normal because traffic takes a longer path and is encrypted. Choosing a nearby server and disabling multi-hop usually keeps the impact small.
Can I use Mozilla VPN on a router? Mozilla VPN is designed as a per-device app. Router-level setup is not its primary use case; if you need network-wide coverage, check whether your router supports a VPN client and whether Mozilla VPN provides the necessary configuration.
Conclusion
Setting up Mozilla VPN takes about five minutes: install the app, sign in, pick a server, and connect. The part that actually protects you is the verification step afterward. Run an IP lookup, a DNS leak test, and a WebRTC leak test every time you connect to a new network, and check your fingerprint periodically to see what your browser still reveals. The VPN handles the tunnel; the tests confirm it is doing its job.