
Pixelscan Login: How to Access & Use Your Privacy Scans
Pixelscan Login: How to Access & Use Your Privacy Scans
If you are looking for a "Pixelscan login" button, you are not alone. Many users finish their first browser fingerprint or IP leak scan and immediately search for a way to save the results to an account. Here is the key detail that surprises most new visitors: Pixelscan does not require a login, and it does not offer a traditional user account system.
This design choice is intentional. Pixelscan is built as a zero-storage privacy diagnostic tool. The platform does not store your scan results, link them to an identity, or keep a history of your IP addresses. Understanding this workflow is the first step to using the tool effectively.
Why There Is No Pixelscan Login Portal
Pixelscan Login: How to Access & Use Your Privacy Scans - Why There Is No Pixelscan Login Portal.
The absence of a Pixelscan login is a core privacy feature, not a missing function. When you run a scan on Pixelscan.net, the analysis happens locally in your browser and through real-time server requests. The data is displayed to you instantly, but once you close the tab, that specific report is gone.
This model protects you. If the platform stored your browser fingerprint, IP address, DNS configuration, and proxy status behind a login, that database would become a high-value target for attackers. By never storing the data, Pixelscan eliminates that risk entirely.
How the No-Login Model Benefits You
- No Data Retention: Your IP address, WebRTC leaks, and canvas fingerprint are not written to a database.
- No Identity Linking: You cannot accidentally tie your real identity to a sensitive proxy or VPN configuration test.
- Instant Access: You skip registration forms, email verification, and password management.
How to “Save” Your Pixelscan Results Without an Account
Even without a Pixelscan login, you still need a way to document your findings, especially if you are comparing VPN servers, testing an antidetect browser, or auditing a corporate network. Professionals rely on manual but secure documentation methods.
1. Export a PDF or Screenshot
The fastest method is a full-page screenshot or a “Print to PDF” export from your browser. This captures your IP address, ISP, timezone, WebRTC status, DNS leak results, and fingerprint hash in a single static file.
Best practice: Redact your real IP address from the screenshot if you plan to share the file with a support team or post it in a public forum.
2. Copy the Unique Scan URL
Pixelscan generates a unique session URL for your scan results. You can copy this link from your browser’s address bar and save it in a secure note. The link allows you to revisit the current analysis as long as the session remains active, but it does not create a permanent record on Pixelscan’s servers.
3. Use a Secure Local Log
For ongoing privacy testing, maintain an encrypted local spreadsheet or a note in a password manager. Record the date, the VPN server used, the detected IP, any DNS leaks found, and the browser fingerprint consistency score. This creates a personal audit trail without relying on a cloud-based Pixelscan login.
Step-by-Step: Running and Interpreting Your First Scan
Pixelscan Login: How to Access & Use Your Privacy Scans - Step-by-Step: Running and Interpreting Your First Scan.
Since you do not need to log in, you can jump straight into the diagnostics. The workflow is designed to take under 30 seconds.
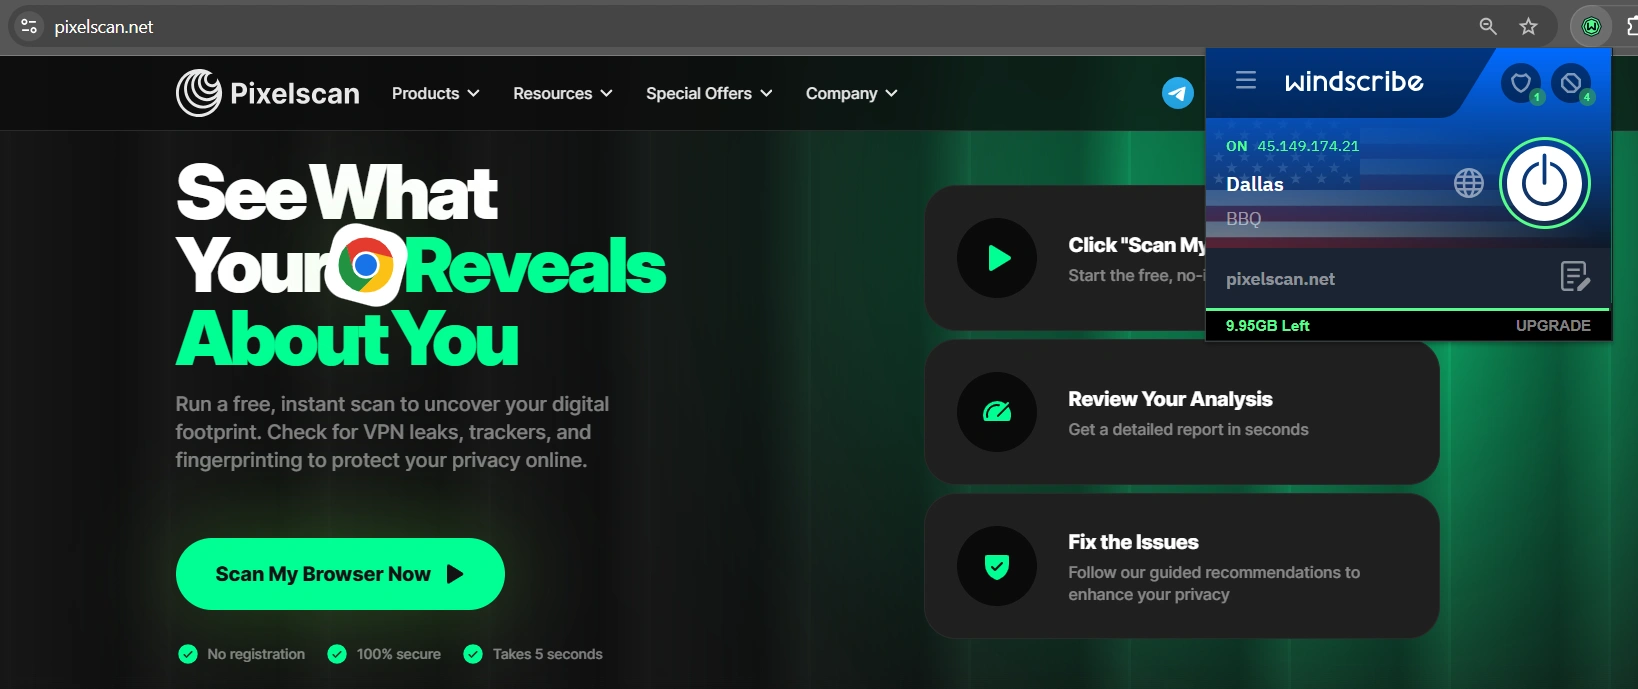
- Navigate to Pixelscan.net. The homepage loads the multi-check tool immediately.
- Click “Scan My Browser.” The tool runs a series of parallel checks. You will see progress indicators for IP collection, DNS analysis, and fingerprinting.
- Review the dashboard. The report breaks down into specific modules: IP Check, DNS Leak Test, WebRTC Detection, Bot Checker, and Fingerprint Analysis.
- Identify mismatches. Look for red flags. A common issue is a DNS server that does not match your VPN’s advertised location, which indicates a leak.
What the Pixelscan Dashboard Actually Checks
Pixelscan Login: How to Access & Use Your Privacy Scans - What the Pixelscan Dashboard Actually Checks.
The tool is an all-in-one multi-checker. Knowing what each module does helps you act on the results without needing to search for a separate guide.
IP and Proxy Detection
The IP checker displays your public IPv4 address, the associated ISP, and the geolocation (country, region, city). Crucially, it flags whether the IP belongs to a datacenter, a residential proxy, or a known anonymous network. If you are connected to a VPN but the tool shows your home ISP, your VPN connection has failed.
DNS and WebRTC Leak Tests
Even when your IP is masked, your browser can leak your real location through DNS queries or WebRTC. Pixelscan compares the IP address your browser reports for WebRTC against the public IP of your connection. A mismatch here is a critical vulnerability that exposes your local network address.
Browser Fingerprint Analysis
This module measures how unique your browser setup is. It collects data points like your user agent, screen resolution, installed fonts, and canvas hash. A highly unique fingerprint makes you trackable across sessions, even if you change your IP address. For a deeper dive into how this works and how to protect yourself, read our guide on what anti-fingerprinting is and how it protects your privacy.
Advanced Use Cases for Regular Scanning
You do not need a Pixelscan login to integrate the tool into a professional workflow. IT administrators, developers, and privacy enthusiasts use it for specific, repeatable tasks.
Verifying VPN and Proxy Configurations
Before starting a sensitive session, connect to your VPN and run a Pixelscan scan. Confirm that the IP location matches your chosen server and that no DNS leaks are present. If you are setting up a new VPN, our complete NordVPN setup and privacy guide walks you through the configuration and shows you how to verify the connection with tools like Pixelscan.
Testing Antidetect Browsers
Antidetect browsers spoof fingerprinting parameters to make you look like a generic user. After configuring a profile, run it through Pixelscan’s bot checker and fingerprint analysis. The tool detects headless browser traces and automation signals, helping you confirm that your setup does not look like a bot.
Network Security Audits
Pixelscan’s IP blacklist check reveals whether your current IP has been flagged for spam or malicious activity. This is useful if you use a proxy service with shared IPs. If your IP is blacklisted, websites may block you or present additional verification challenges. For broader network diagnostics, understanding what ASN data is and how autonomous system numbers work can help you trace the source of routing issues.
Pixelscan vs. BrowserScan: Complementary Privacy Tools
While Pixelscan focuses on real-time leak detection and IP analysis, other platforms like BrowserScan offer a different angle on privacy diagnostics. BrowserScan is a comprehensive online privacy and security testing platform that provides a suite of free, web-based tools. Its core capabilities include browser fingerprint analysis to verify authenticity, DNS and WebRTC leak tests, an IP address lookup with geolocation and proxy detection, and an Nmap-powered port scanner.
Where Pixelscan excels at giving you a fast, one-page snapshot of your current connection’s health, BrowserScan adds depth in areas like client hints analysis, canvas fingerprint verification, and network port scanning. Using both tools together gives you a layered view of your digital exposure. You can start with Pixelscan for a quick leak check and then move to BrowserScan’s broader toolkit when you need to debug a specific browser string or scan for open ports on your network.
Related reading
- What Is an IP API? A Complete Guide to IP Geolocation Services - Learn how IP APIs work, compare free and paid geolocation services, and discover how to verify your IP data accuracy with privacy tools.
- What Is Cloud Security? A Complete 2025 Guide - Learn what cloud security really means, the core components, biggest challenges, and how to start assessing your own cloud and browser exposure with free tools.
- PrivacyTools.io Tutorial: Navigate & Harden Your Setup - Learn how to use PrivacyTools.io to find and configure privacy-respecting apps, browsers, and VPNs. A step-by-step tutorial with testing and verification tips.
Sources and further reading
- Pixelscan | Fast multi-check tool for detection analysis - Pixelscan is a complete multi-check tool for browser fingerprinting, proxy detection, IP analysis, DNS leaks, and more. See how detectable your setup really is.
- Check IP ✅ IP Address Lookup & Detection Info with Pixelscan - Check IP with Pixelscan — instantly view your IP address, location, and connection details to understand how detection systems see you online.
- Check your location with Pixelscan - Get detailed location info based on your IP address. Use our location checker to detect mismatches and see what websites know about your connection.
Frequently Asked Questions
Does Pixelscan offer a login or paid account?
No. Pixelscan does not have a login system, user accounts, or paid tiers. All scans are free, anonymous, and performed without storing your data on their servers.
How do I access my old Pixelscan scans?
You cannot retrieve past scans from Pixelscan because the platform does not retain them. You are responsible for saving your results locally via PDF, screenshot, or manual notes.
Is it safe to use Pixelscan without a login?
Yes. The no-login architecture means your IP address, browser fingerprint, and leak test results are never stored or linked to a persistent identity. This makes the tool safer for testing sensitive configurations.
Can I share my Pixelscan results with someone else?
Yes. You can copy the temporary session URL from your browser’s address bar and share it. The recipient will see the live results of that specific scan. For permanent sharing, send a redacted screenshot or PDF.
What should I do if Pixelscan detects a DNS leak?
First, enable your VPN’s built-in DNS leak protection if available. Then, switch to a different VPN server and run the scan again. If the leak persists, you may need to manually configure your operating system’s DNS settings to use the VPN provider’s DNS servers.
Conclusion
The search for a “Pixelscan login” points to a valid need: you want to track your privacy improvements over time. However, the tool’s strength lies in its stateless, no-storage design. By understanding how to document your own results and interpret the multi-check dashboard, you gain a powerful, anonymous diagnostic tool that never compromises your data. Pair it with complementary platforms like BrowserScan for deeper fingerprinting and network analysis, and you will have a complete, privacy-respecting toolkit for verifying your online security.