
How to Use BrowserLeaks: A Complete Privacy Testing Guide
How to Use BrowserLeaks: A Complete Privacy Testing Guide
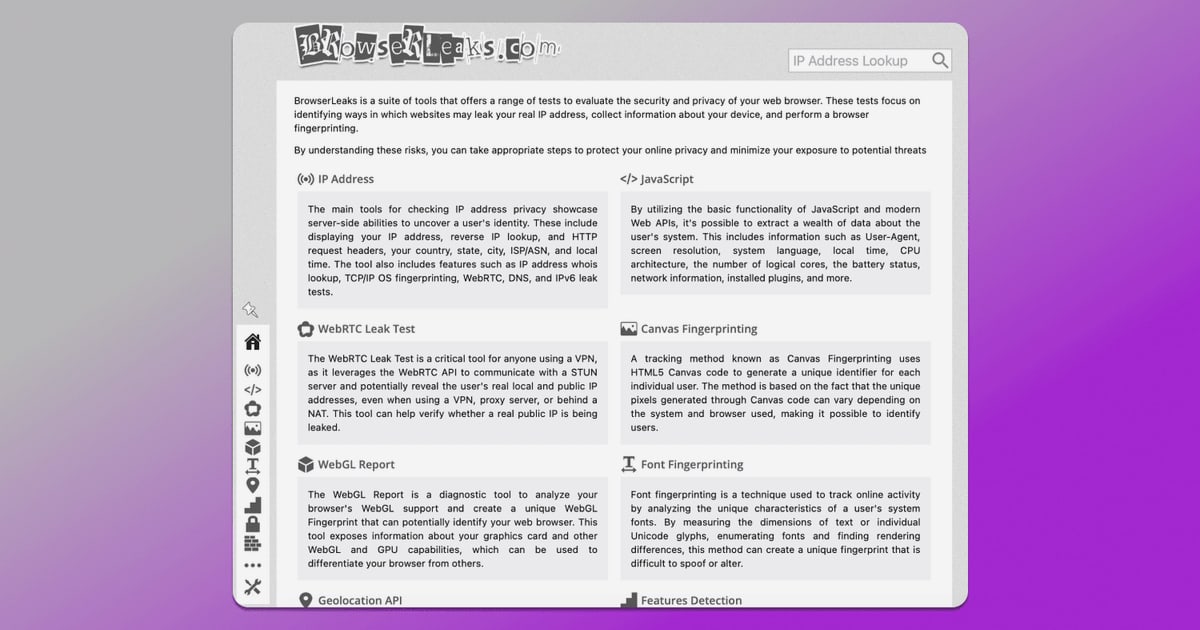
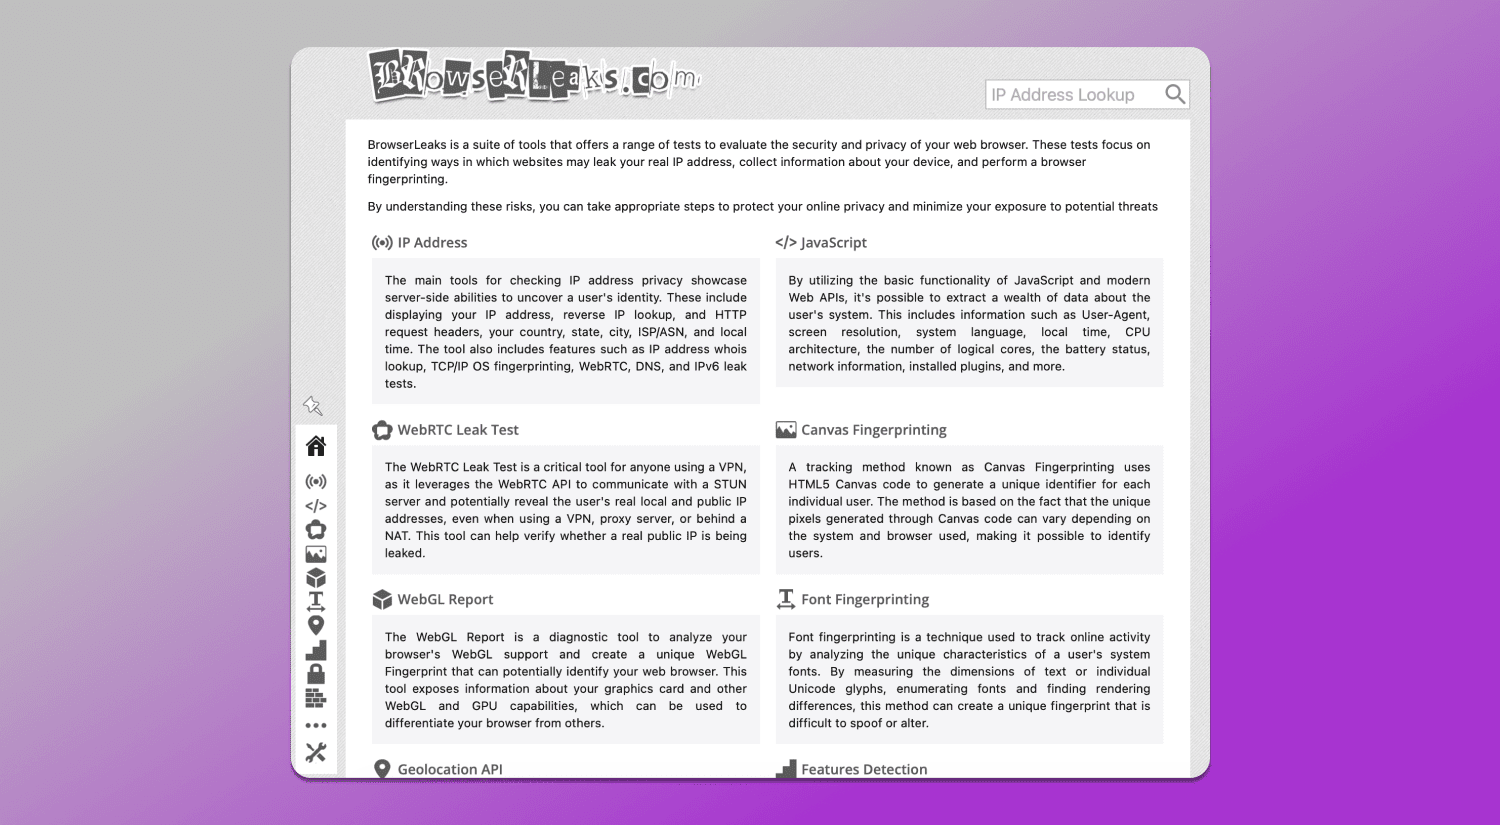
BrowserLeaks is a comprehensive web-based testing suite that reveals exactly what information your browser exposes to every website you visit. Whether you are verifying a new VPN configuration, hardening your browser against tracking, or debugging a web application, understanding how to interpret these tests is essential. This guide walks you through each major tool on BrowserLeaks, explains what the results mean, and shows you how to act on them to reduce your digital footprint.
What Is BrowserLeaks and Why Should You Use It?
How to Use BrowserLeaks: A Complete Privacy Testing Guide - What Is BrowserLeaks and Why Should You Use It?.
Every time you load a webpage, your browser silently transmits dozens of data points: your IP address, operating system, screen resolution, installed fonts, graphics card details, and even battery status. Individually these details seem harmless, but combined they create a unique identifier—a browser fingerprint—that can track you across the web without cookies.
BrowserLeaks runs a series of client-side tests that surface this hidden information. It does not store your data or require registration. The platform is widely trusted by privacy-conscious users, security researchers, and IT professionals to:
- Verify that a VPN or proxy is not leaking your real IP address.
- Audit browser fingerprinting surface area before and after applying privacy tweaks.
- Debug TLS configurations, HTTP headers, and WebGL rendering.
- Understand what tracking scripts can infer about your device.
For a broader look at the network data tied to your public IP, you can cross-reference BrowserLeaks results with an ASN lookup tool to see the full ownership and routing details of your ISP or hosting provider.
How to Run Your First Privacy Check on BrowserLeaks
How to Use BrowserLeaks: A Complete Privacy Testing Guide - How to Run Your First Privacy Check on BrowserLeaks.
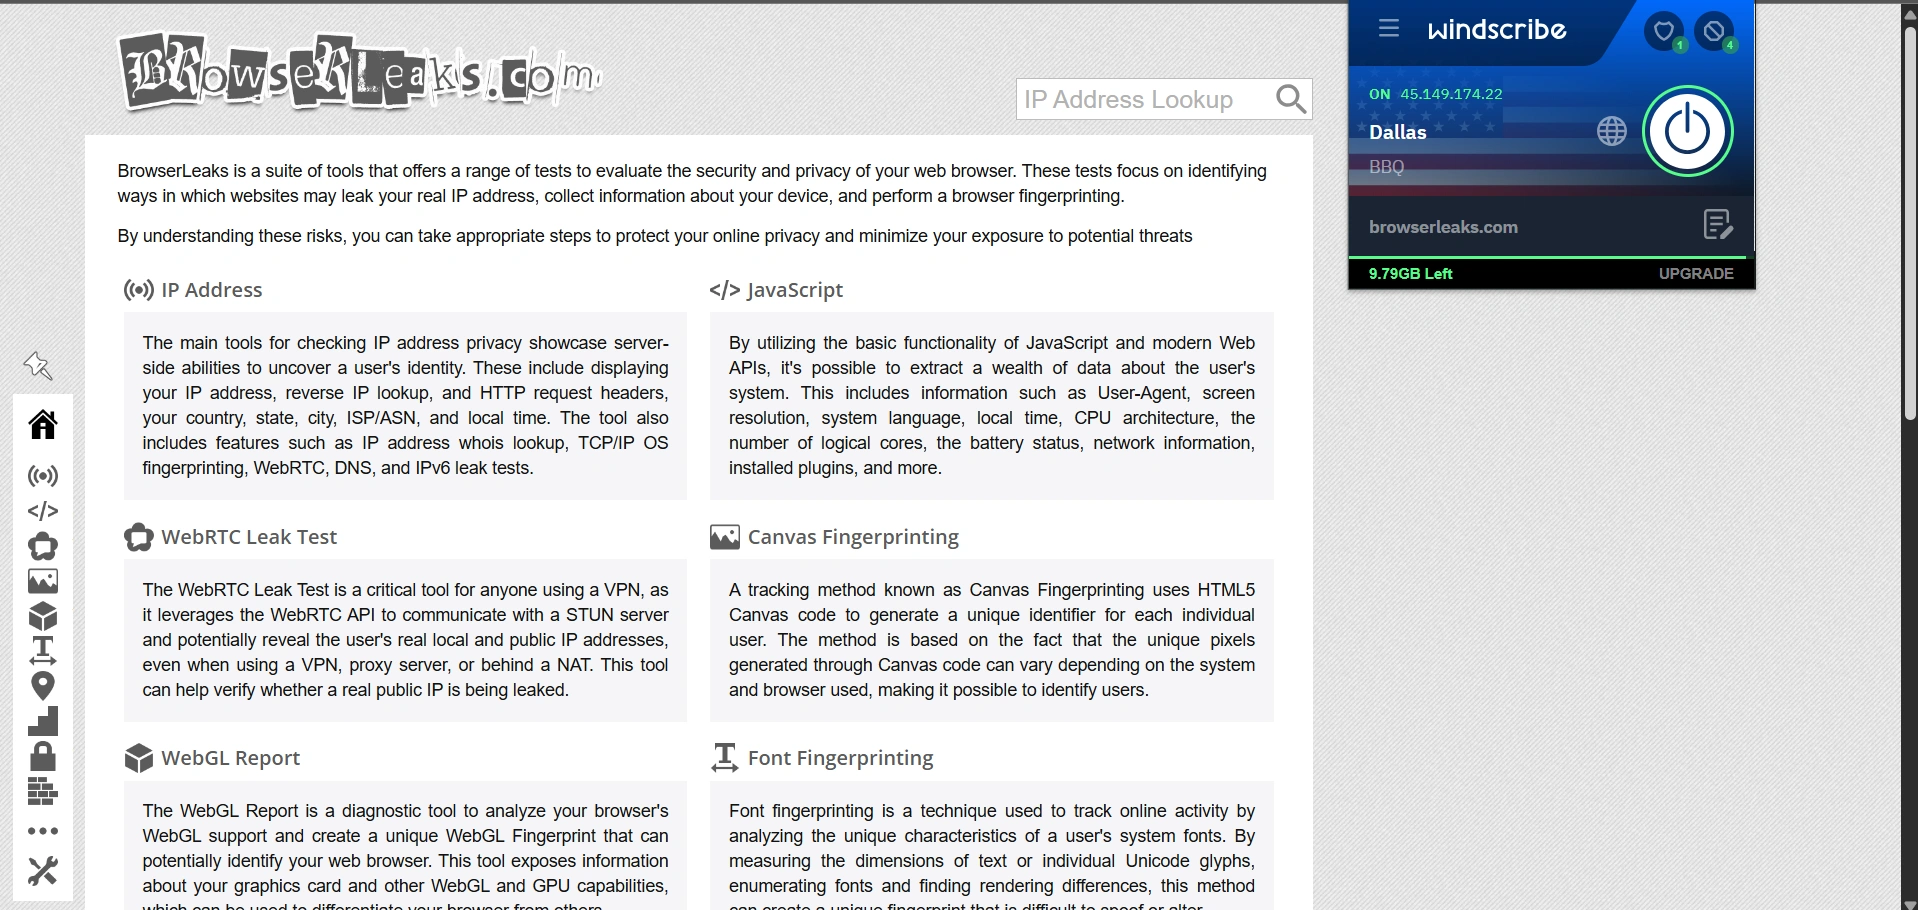
Start on the main dashboard at browserleaks.com. The page organizes tests into logical groups: IP Address, JavaScript, Fingerprinting, and Advanced. You do not need to install anything—every test runs directly in the browser. For the most accurate results, temporarily disable any ad blockers or script-blocking extensions, then re-enable them later to compare the difference.
Step 1: Check Your IP Address and Location
Click on IP Address or navigate directly to /ip. This is the first stop for anyone using a VPN, proxy, or Tor. The page displays:
- Public IP Address – The IP the server sees. If this shows your real ISP-assigned IP instead of your VPN’s IP, your tunnel has failed.
- Hostname and ISP – Confirms which organization owns the IP. A corporate or hosting provider label when you expect a residential ISP can indicate a proxy is active.
- Geolocation – Country, region, city, and coordinates. Verify this matches your VPN’s exit node location.
- Usage Type – Tags like “Corporate / Hosting” help identify data center IPs that some services block.
Below the location map, three critical leak tests appear:
WebRTC Leak Test
WebRTC enables real-time communication in the browser, but it can bypass your VPN and reveal your local and public IP addresses to STUN servers. The test displays both the Local IP Address (your device’s internal network address) and the Public IP Address as seen by the WebRTC API. If either shows your real IP instead of the VPN’s IP, you have a WebRTC leak.
How to fix a WebRTC leak:
- Disable WebRTC in your browser settings (Firefox: set
media.peerconnection.enabledtofalseinabout:config). - Use a VPN with built-in WebRTC leak protection.
- Install a browser extension that blocks WebRTC requests.
DNS Leak Test
When you use a VPN, DNS queries should travel through the encrypted tunnel to the VPN’s DNS servers. The DNS Leak Test lists the DNS servers your browser is actually contacting. If you see your ISP’s DNS servers instead of your VPN provider’s, your DNS queries are leaking outside the tunnel.
How to fix a DNS leak:
- Configure your VPN client to enforce its own DNS servers.
- Set system-wide DNS to a privacy-respecting resolver like Quad9 or Cloudflare.
- Check for IPv6 leaks separately, as IPv6 traffic often bypasses VPN tunnels.
IPv6 Leak Test
Many VPNs only route IPv4 traffic, leaving IPv6 requests exposed. This test shows whether your IPv6 address is visible. If an address appears and it belongs to your ISP, your IPv6 traffic is leaking.
How to fix an IPv6 leak:
- Disable IPv6 on your network adapter or router.
- Use a VPN that fully supports IPv6 routing and leak protection.
Step 2: Inspect Your Browser Fingerprint
Return to the main dashboard and explore the JavaScript and fingerprinting sections. These tests simulate how tracking scripts collect device characteristics.
JavaScript Data Collection
The JavaScript test extracts everything the browser exposes through standard APIs: User-Agent string, platform, screen resolution, color depth, CPU cores, device memory, battery status, installed plugins, and MIME types. Each data point narrows down your device’s identity. A rare combination of screen dimensions and installed fonts can make you uniquely identifiable even without an IP address.
What to look for:
- User-Agent – Does it match your actual browser and OS? Spoofed User-Agents that conflict with other detected values (like the platform or screen size) can make you more fingerprintable, not less.
- Plugins – A long list of unique plugins increases identifiability. Standardizing on a common browser configuration helps blend in.
Canvas Fingerprinting
Canvas fingerprinting draws a hidden image using the HTML5 Canvas API. Subtle differences in GPU rendering, OS font rendering, and graphics drivers produce a unique hash. The BrowserLeaks Canvas Fingerprint test displays the generated image and its hash. Reload the page to see if the hash remains stable—a consistent hash across sessions is a strong tracking vector.
Mitigation strategies:
- Use a browser that implements canvas randomization (Tor Browser does this by default).
- Install privacy extensions that slightly perturb canvas output, though aggressive spoofing can break some sites.
WebGL Report
WebGL exposes detailed GPU information: vendor, renderer, and supported extensions. The WebGL Report on BrowserLeaks generates a fingerprint from this data. Even if you mask your IP, a unique GPU configuration can link your sessions.
Font Fingerprinting
Your system fonts and how they render specific Unicode glyphs create a distinctive profile. The Font Fingerprinting test enumerates available fonts and measures text dimensions. Minimizing installed fonts or using a browser that limits font enumeration reduces this vector.
Step 3: Analyze TLS and HTTP Fingerprints
Advanced tracking goes beyond browser APIs to inspect the network stack itself.
TLS Client Test
The TLS Client Test examines your browser’s SSL/TLS handshake: supported protocols, cipher suites, extensions, and whether Encrypted Client Hello (ECH) is enabled. It also generates a JA3 and JA4 TLS fingerprint—hashes that uniquely identify your TLS client configuration. These fingerprints persist across IP changes and cookie clearing, making them powerful tracking mechanisms.
What to check:
- Weak ciphers or outdated TLS versions (1.0, 1.1) should be disabled.
- ECH support helps encrypt the SNI field, hiding which websites you visit from network observers.
- A rare JA3 hash makes you stand out. Using a common browser with default TLS settings produces a more generic fingerprint.
HTTP/2 Fingerprint
The HTTP/2 test reads frame settings and creates an Akamai-format fingerprint. This is another network-layer identifier that advanced anti-bot systems use.
Step 4: Test Content Filters and Permissions
BrowserLeaks includes detectors for ad blockers, Tor Browser settings, and Do Not Track / Global Privacy Control headers. The Content Filters page confirms whether your privacy extensions are actively modifying page content and network requests. The Geolocation API test checks if your browser automatically grants location access and what coordinates it reports.
Interpreting Results and Prioritizing Fixes
How to Use BrowserLeaks: A Complete Privacy Testing Guide - Interpreting Results and Prioritizing Fixes.
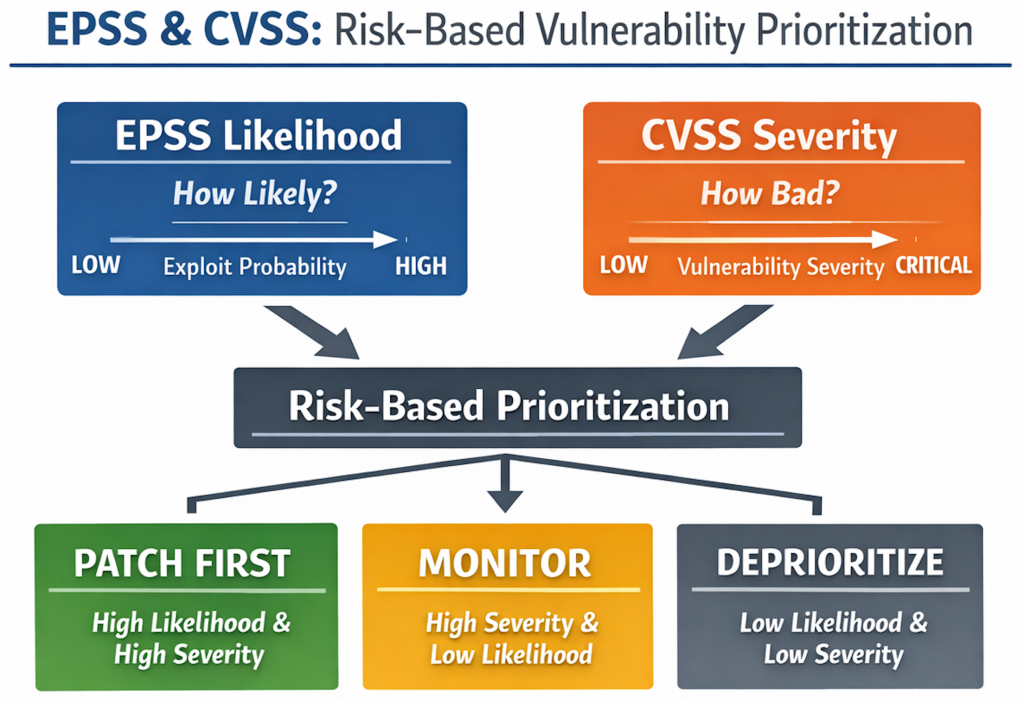
Not every leak carries equal risk. Prioritize based on your threat model:
| Risk Level | Leak Type | Impact |
|---|---|---|
| Critical | Real IP via WebRTC or DNS | Completely defeats VPN anonymity |
| High | IPv6 leak | Exposes real location alongside VPN tunnel |
| Medium | Stable canvas or WebGL hash | Enables cross-session tracking |
| Low | Screen resolution and fonts | Contributes to fingerprint but alone is not identifying |
After fixing critical leaks, re-run the tests. A privacy-hardened setup should show the VPN’s IP across all leak tests, a generic or randomized canvas hash, and no DNS servers belonging to your ISP.
For a second opinion, you can cross-validate your results with other privacy testing platforms. BrowserScan offers a similar suite of browser fingerprint analysis and leak tests that checks DNS, WebRTC, canvas fingerprinting, and client hints from a different detection perspective. Running your browser through multiple tools helps confirm that your privacy configuration is consistent and not optimized for just one testing methodology.
Integrating BrowserLeaks into a Broader Privacy Workflow
How to Use BrowserLeaks: A Complete Privacy Testing Guide - Integrating BrowserLeaks into a Broader Privacy Workflow.
BrowserLeaks is most effective when used as part of a recurring privacy audit routine:
- Baseline test – Run all tests on a clean browser profile with no VPN or extensions. Save the results.
- Apply protections – Enable your VPN, install privacy extensions, and harden browser settings.
- Re-test – Run the same tests and compare. Every leak you closed should show a changed or blocked result.
- Periodic verification – Re-test monthly and after any browser update, VPN client update, or extension change.
If you are also working with network-level security tools, the principles behind BrowserLeaks’ IP and port exposure tests overlap with techniques covered in our HackerTarget tutorial on OSINT and network scanning. Understanding both browser-side and server-side exposure gives you a complete picture of your digital attack surface.
Related reading
- How to Use PrivacyTools.io: A Practical Privacy Guide - Learn how to use PrivacyTools.io to find private software alternatives, understand the recommendations, and verify your setup with privacy testing tools.
- What Is IPWHOIS.io? The IP Geolocation API Explained - Learn what IPWHOIS.io is, how its free IP geolocation API works, and how to verify the data accuracy with privacy testing tools.
- What Is IP Geolocation? How It Works & Accuracy Limits - Learn how IP geolocation maps an IP address to country, city, and ISP. Understand accuracy, common use cases, and how to verify your own IP data.
Sources and further reading
- Browserleaks - Check your browser for privacy leaks - BrowserLeaks is a suite of tools that offers a range of tests to evaluate the security and privacy of your web browser. These tests focus on identifying ways in which websites may leak your real IP address, collect information about your device, and perform a browser fingerprinting.
- My IP Address - The main tools for checking IP address privacy. Showing Your IP Address, Reverse IP Lookup, Hostname, and HTTP Request Headers, Your Country, State, City, ISP/ASN, and Local Lime, Whois Lookup, TCP/IP OS fingerprinting, WebRTC Leak Test, DNS Leak Test, and IPv6 Leak Test.
- Defeat BrowserLeaks: Step-by-step Guide - Is your browser leaking your secrets? Discover how to test for privacy risks with BrowserLeaks and mask your footprint using Kameleo!
Frequently Asked Questions
Is BrowserLeaks safe to use?
Yes. BrowserLeaks does not require accounts, does not store fingerprints, and does not set non-essential cookies. All tests run locally in your browser. The site’s privacy policy explicitly states it does not collect personal data.
Can BrowserLeaks detect if I’m using a VPN?
BrowserLeaks itself does not “detect” VPNs, but the IP, DNS, and WebRTC tests reveal whether your real IP is leaking. If all tests show only the VPN’s IP, your VPN is working correctly for browser traffic.
Why does my canvas fingerprint change every time?
Some browsers and privacy extensions intentionally randomize canvas output to prevent tracking. A changing hash is a good sign for privacy, though it may cause issues on sites that rely on canvas consistency.
What is a JA3 fingerprint and why does it matter?
JA3 is a hash of the TLS ClientHello parameters your browser sends when establishing a secure connection. Because different browsers and OS versions produce different JA3 hashes, it acts as a tracking identifier that survives IP changes and cookie clearing.
How often should I run these tests?
Run a full suite whenever you change your VPN provider, update your browser, or modify privacy settings. Monthly spot-checks catch regressions early.
Does BrowserLeaks work on mobile browsers?
Yes, most tests work on mobile browsers, though some APIs (like battery status or certain WebGL features) may be limited by the mobile OS. Mobile browsers have their own fingerprinting vectors, so testing on each device you use is recommended.
Conclusion
BrowserLeaks transforms abstract privacy concepts into concrete, actionable data. By systematically working through the IP leak tests, fingerprinting tools, and network-layer checks, you gain a clear inventory of what your browser tells the world. The goal is not to achieve a perfect, unreadable fingerprint—that is often impossible—but to eliminate critical leaks that unmask your identity and to reduce your uniqueness enough to blend into the crowd. Combine regular BrowserLeaks audits with a disciplined VPN setup, browser hardening, and cross-validation through complementary platforms, and you will have a privacy posture that holds up under real-world scrutiny.