
BrowserScan + Nmap: Combined Privacy & Network Security
BrowserScan + Nmap: Combined Privacy & Network Security
Your browser can leak more than you think—and so can your network. BrowserScan reveals what websites can fingerprint about your browser, while Nmap maps the network services your device exposes. Used together, they give you a full-stack privacy audit: from the JavaScript layer down to open ports.
This guide explains how the two tools complement each other, walks through a practical workflow, and shows how to fix the issues each one uncovers.
Why combine a browser fingerprint tool with a network scanner?
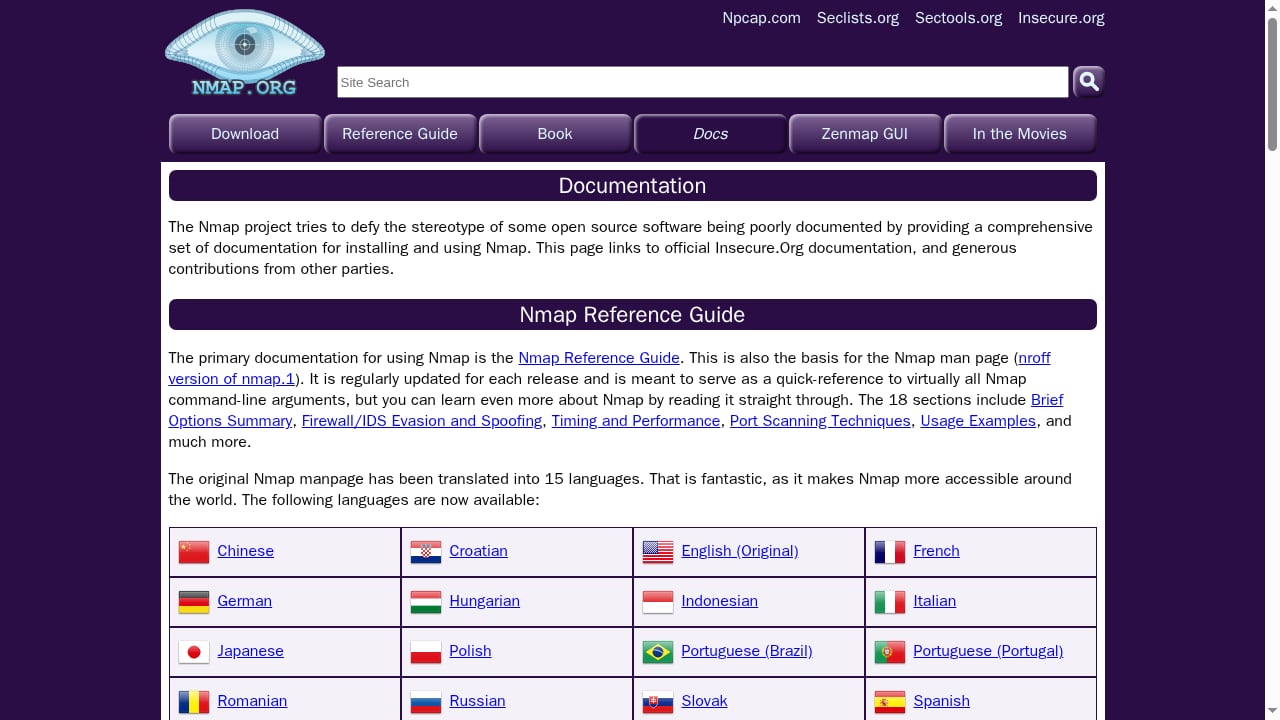
First viewport screenshot of nmap.org.
Most privacy advice stops at the browser. But a fingerprint is only one layer. If your device or network exposes open ports, misconfigured services, or unexpected hosts, no amount of browser hardening will fully protect you. Conversely, a clean network scan says nothing about whether your browser leaks WebRTC IPs or reveals a unique canvas hash.
- BrowserScan focuses on the client side: browser fingerprint, IP address, DNS leaks, WebRTC leaks, user agent parsing, proxy detection, 2FA status, port scanning from the browser, and speed tests.
- Nmap focuses on the network side: host discovery, port scanning, service and version detection, OS fingerprinting, and scriptable checks via NSE.
Together they answer two different questions: What does the web see about me? and What does the network see about my device?
Understanding each tool
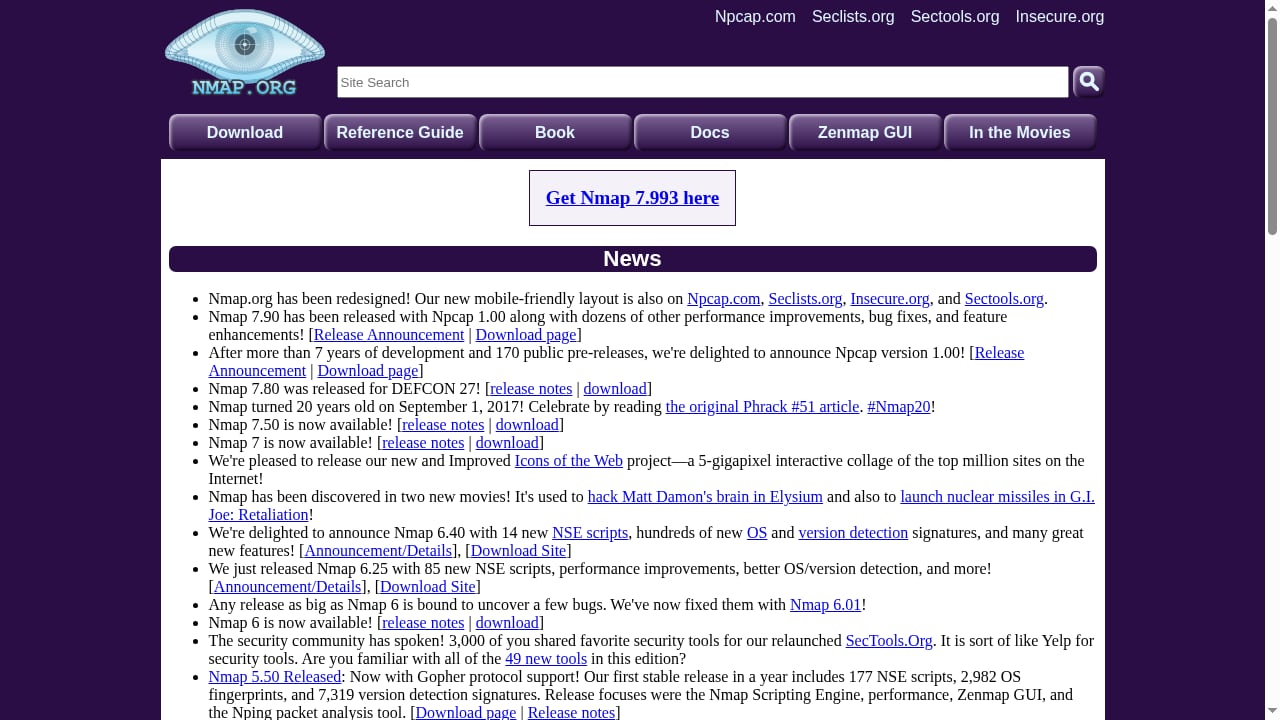
First viewport screenshot of nmap.org.
What BrowserScan checks
BrowserScan is a browser-based privacy testing suite. When you open it, it inspects your browser and connection and reports on:
- Fingerprint uniqueness – canvas, WebGL, fonts, and other signals that can identify your device.
- IP and proxy detection – whether your visible IP matches your expected location and whether a proxy or VPN is detected.
- DNS leak test – whether DNS queries resolve through your intended resolver or leak to your ISP.
- WebRTC leak test – whether WebRTC exposes your real local or public IP behind a VPN.
- User agent parsing – the exact browser, OS, and device string you present.
- 2FA live check – whether two-factor authentication is active on supported accounts.
- Port scanner – a quick browser-side check of common ports.
- Speed test – connection quality, useful when diagnosing VPN overhead.
What Nmap does
Nmap (Network Mapper) is a free, open-source security scanner. It sends crafted packets to hosts and interprets the responses to discover:
- Which hosts are up.
- Which TCP and UDP ports are open, closed, or filtered.
- Which services and versions are listening.
- Operating system hints.
- Additional details via the Nmap Scripting Engine (NSE).
Nmap runs on Linux, Windows, macOS, and BSD. It is actively maintained; the official changelog shows frequent releases with security fixes and new NSE scripts.
How the two tools complement each other
First viewport screenshot of nmap.org.
| Layer | BrowserScan | Nmap |
|---|---|---|
| Browser fingerprint | ✅ Canvas, WebGL, fonts | ❌ |
| IP / proxy / VPN detection | ✅ | ⚠️ Indirect (via host discovery) |
| DNS leak | ✅ | ⚠️ Via DNS scripts |
| WebRTC leak | ✅ | ❌ |
| Open ports (local/remote) | ✅ Quick common-port check | ✅ Full TCP/UDP scan with service detection |
| Service version & OS | ❌ | ✅ |
| Scriptable checks | ❌ | ✅ NSE |
Decision guidance: Start with BrowserScan to see what the web can infer about you. If it flags a port, proxy, or DNS anomaly, use Nmap to investigate the underlying network cause. If Nmap finds an unexpected open port, return to BrowserScan to confirm whether your browser exposes it or leaks related data.
Step-by-step workflow
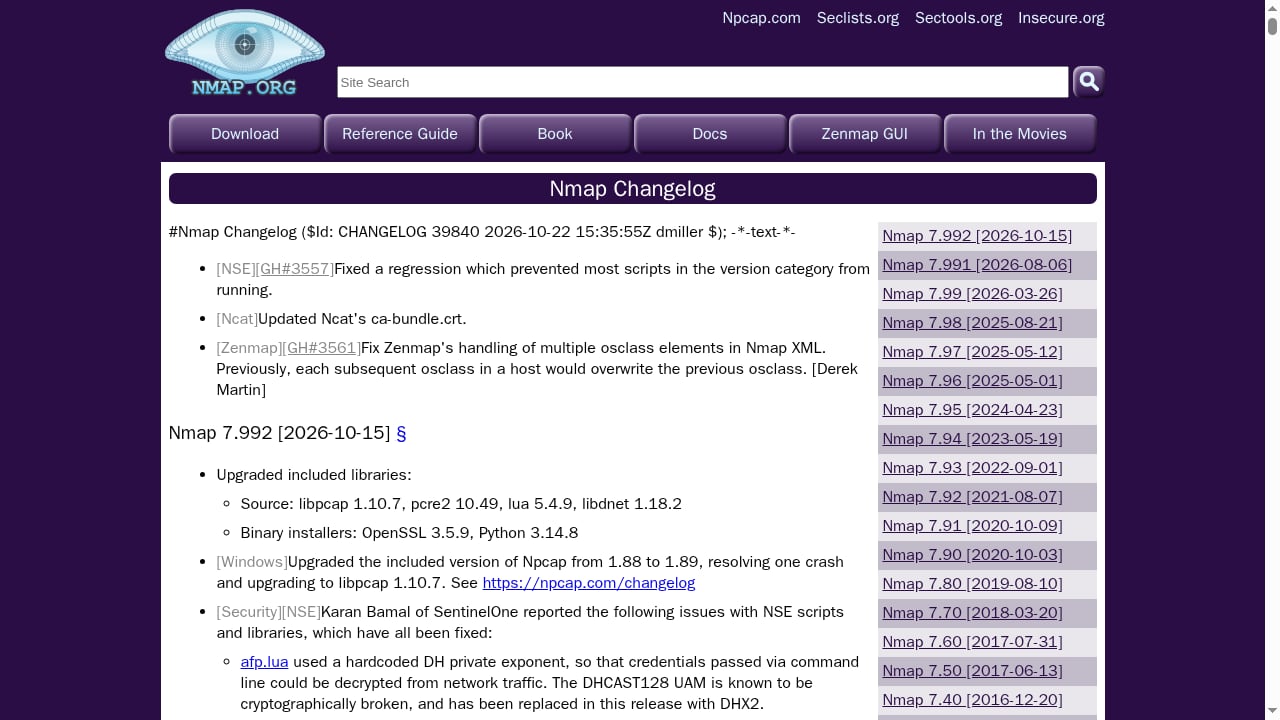
First viewport screenshot of nmap.org.
Step 1: Baseline your browser with BrowserScan
- Open BrowserScan in a clean browser profile—ideally the same profile you use for sensitive browsing.
- Run the fingerprint check and note your uniqueness score and the signals that stand out (canvas hash, fonts, screen resolution).
- Run the DNS leak test and WebRTC leak test. Record any IPs that differ from your VPN or expected resolver.
- Run the IP check and proxy detection to confirm your visible location.
- Use the user agent parse to verify you are not presenting an inconsistent or outdated string.
- Optionally run the built-in port scanner for a quick view of common ports.
Save or screenshot the results. This is your browser baseline.
Step 2: Map the network with Nmap
Install Nmap from the official source (insecure.org) or your package manager. Then run a staged scan:
# 1. Discover live hosts on your local network
nmap -sn 192.168.1.0/24

# 2. Scan common ports with service/version detection on your own device
nmap -sV -F 192.168.1.10

# 3. Full TCP scan of a specific host (slower)
nmap -sV -p- 192.168.1.10

# 4. Check UDP services commonly exposed
nmap -sU --top-ports 20 192.168.1.10
Only scan systems you own or have explicit permission to test. Unauthorized scanning can violate laws and terms of service.
Step 3: Correlate findings
Compare the two result sets:
- BrowserScan shows a DNS leak, Nmap shows an internal DNS resolver on port 53 → your device may be using a local resolver that bypasses your VPN.
- BrowserScan flags a proxy, Nmap shows an unexpected service on a high port → a local proxy or tunnel may be running without your knowledge.
- BrowserScan's port scanner reports an open port, Nmap confirms the service and version → you now know exactly what is listening and can decide whether to close it.
- Nmap finds an open remote administration port (e.g., 3389 or 22), BrowserScan shows no leak → the browser is clean, but the network perimeter is not.
Step 4: Remediate and re-test
Fix issues in order of risk:
- Close or firewall unnecessary ports found by Nmap.
- Disable WebRTC or use a browser extension if the WebRTC leak test fails.
- Switch to a DNS resolver that does not leak, then re-run the DNS leak test.
- Harden your browser fingerprint by reducing uniqueness (standard fonts, common resolution, privacy extensions).
- Re-run both tools to confirm the fixes.
Practical examples
Example 1: VPN user with a WebRTC leak
A remote worker connects through a VPN. BrowserScan's WebRTC leak test shows a local IP and the real ISP IP. Nmap run against the local machine reveals an open port used by a conferencing app that bypasses the VPN tunnel. Fix: disable WebRTC in the browser or route the app through the VPN, then re-test.
Example 2: Home lab with an exposed service
A developer runs a test server. Nmap -sV -p- finds port 8080 open with an outdated framework version. BrowserScan's port scanner also flags 8080. Fix: bind the service to localhost, update the framework, and re-scan.
Example 3: Team profile verification
A team using antidetect browsers needs each profile to look consistent. BrowserScan verifies fingerprint and IP consistency per profile; Nmap checks that the underlying host does not expose services that could deanonymize the profile. See how this works in practice with BrowserScan and Accovod and the AdsPower alternative guide for teams.
Common problems the combination solves
- Silent DNS leaks that only appear under certain network conditions.
- WebRTC IP exposure behind VPNs and proxies.
- Unexpected open ports on local devices that attackers could target.
- Proxy or tunnel detection that reveals your real traffic path.
- Fingerprint inconsistency across profiles or sessions.
- Firewall misconfiguration where the browser looks clean but the network does not.
When to use which tool
- Use BrowserScan alone for quick privacy checks, leak tests, and fingerprint verification before and after changing browser settings.
- Use Nmap alone for network inventory, firewall testing, and service auditing on systems you own.
- Use both when you need end-to-end assurance: browser privacy plus network exposure.
For a broader comparison of fingerprint tools, see the top browser fingerprinting and privacy testing tools and the BrowserScan vs Panopticlick comparison.
Related reading
- BrowserScan vs Browser Check vs DeviceAtlas: Fingerprint Detection - Compare BrowserScan, Browser Check, and DeviceAtlas for fingerprint detection, privacy testing, and device intelligence. Find the best tool for your needs.
- CreepJS Review: Browser Fingerprint & IP Risk Analysis - Evidence-based CreepJS review: 59 checks, 8 categories, lie detection, API and SDK, pricing signals, setup, and ideal users for fingerprint audits.
Sources and further reading
- Nmap Network Scanning - Guia rapida del Network Scanning Nmap.
- Online Port Scanner Powered by Nmap | HackerTarget.com - This online port scanner allows testing of open ports and firewalls. With Nmap Online you can scan a single IP address or a range of IPs. Test IPv4 or IPv6.
FAQ
Is Nmap legal to use?
Nmap itself is legal. Scanning systems you do not own or lack permission to test may violate laws or terms of service. Always get authorization.
Can BrowserScan replace Nmap?
No. BrowserScan's port scanner is a quick browser-side check of common ports. Nmap provides full TCP/UDP scanning, service detection, OS fingerprinting, and scripting.
Can Nmap replace BrowserScan?
No. Nmap cannot see canvas fingerprints, WebRTC leaks, or DNS leaks as experienced by your browser. BrowserScan covers the client layer that Nmap cannot reach.
How often should I run these checks?
Run BrowserScan after any browser, VPN, or extension change. Run Nmap after network changes, new device additions, or firewall updates. A monthly baseline is a good habit.
Do I need to install anything for BrowserScan?
No. BrowserScan runs in your browser. Nmap requires installation for full functionality, though online port scanners exist for quick checks.
Conclusion
Browser fingerprinting and network exposure are two sides of the same privacy problem. BrowserScan shows you what the web can infer about your browser, while Nmap shows you what the network reveals about your device. By running both in a repeatable workflow—baseline, scan, correlate, remediate, re-test—you close gaps that neither tool can catch alone. Start with a BrowserScan baseline today, then map your network with Nmap to see the full picture.